In this article, you’ll learn how to create a product using Prodmake.
We’ll not only create it but will publish it as well.
The final result is live at created.prodmake.com.
Set up
This guide assumes you have created an account and you’re in your workspace. Prodmake offers a free trial period so you can give it a go free of charge at app.prodmake.com.
Creating a product
Creating a product is done in the main navigation sidebar. You’ll have to click on the Add/Plus button in Products section.
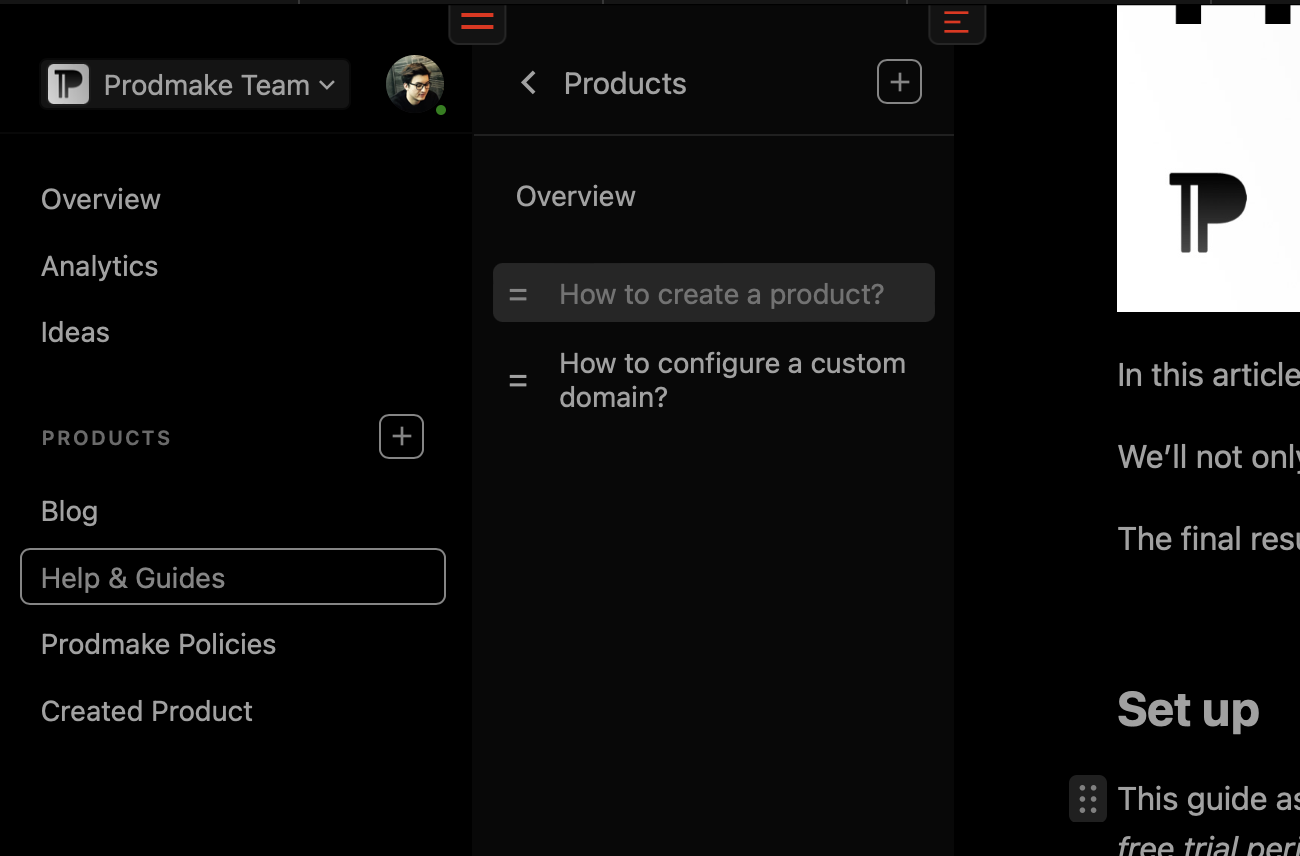
Once created, you can select a type of product. For this example, we’ll select a Book.
Congrats! You have created a new product.
Managing product
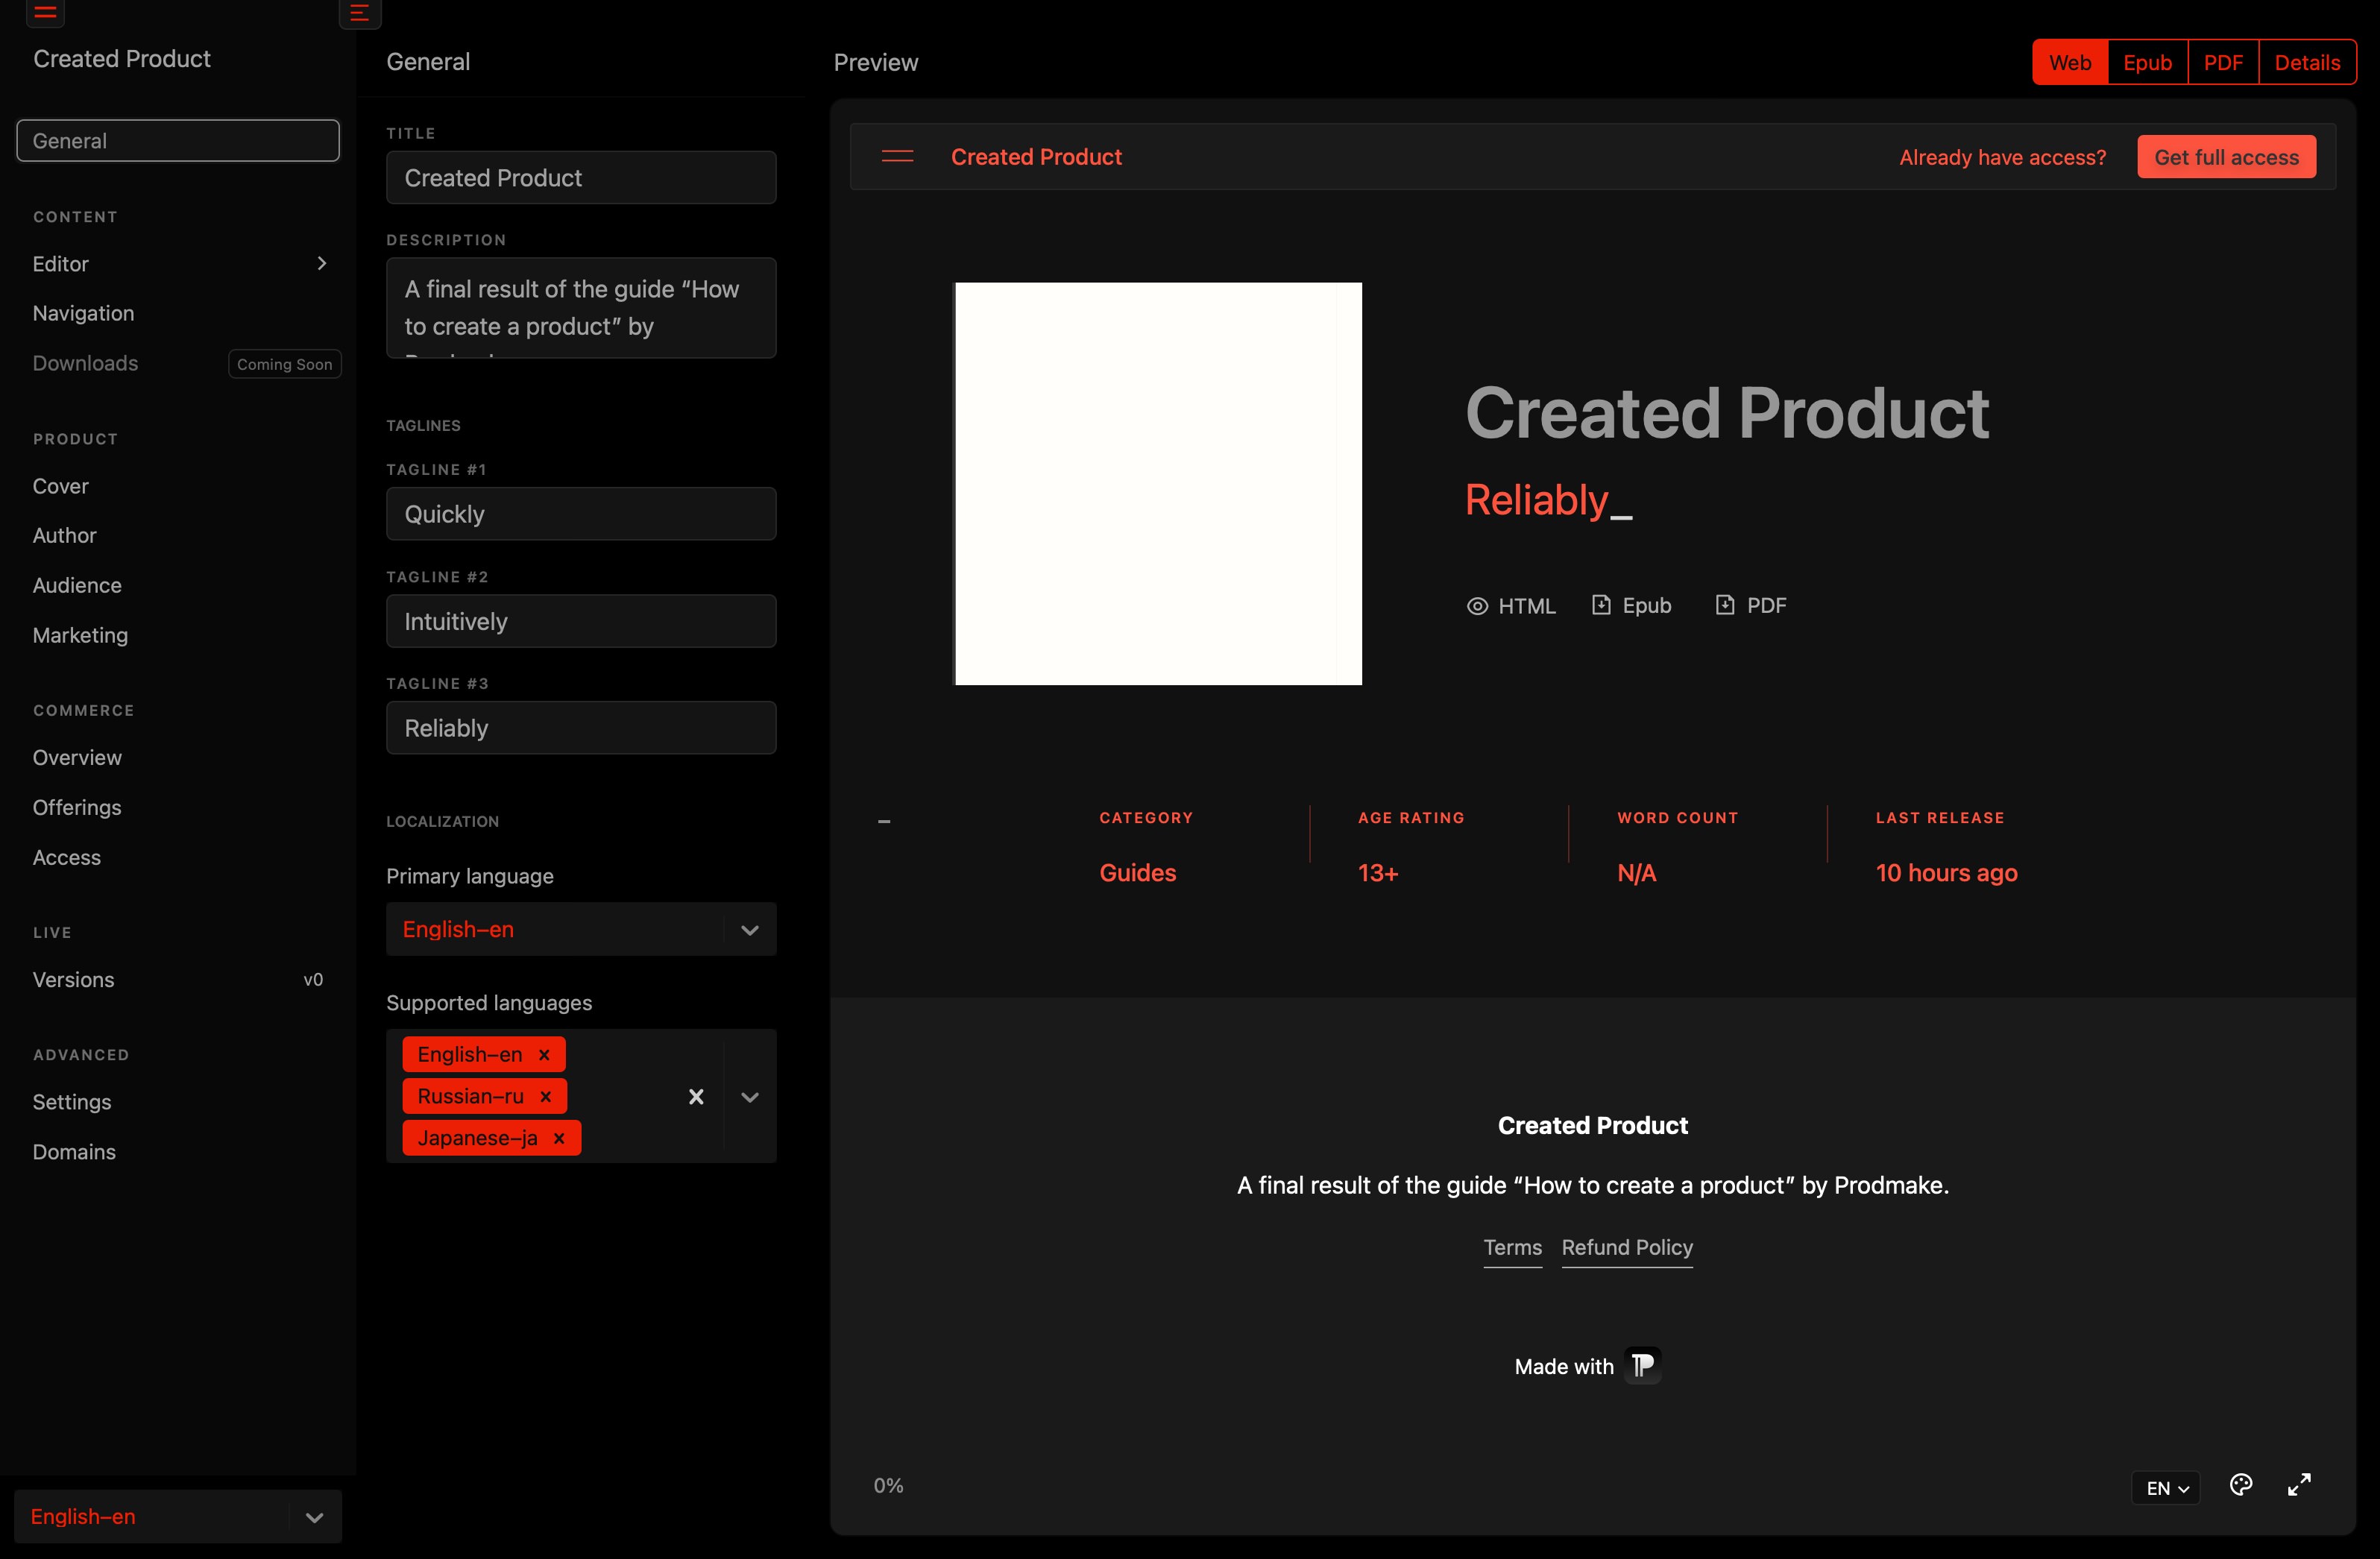
This is a Product view. All products have a three-column view with Navigation, Sidebar, and Preview.
Navigation
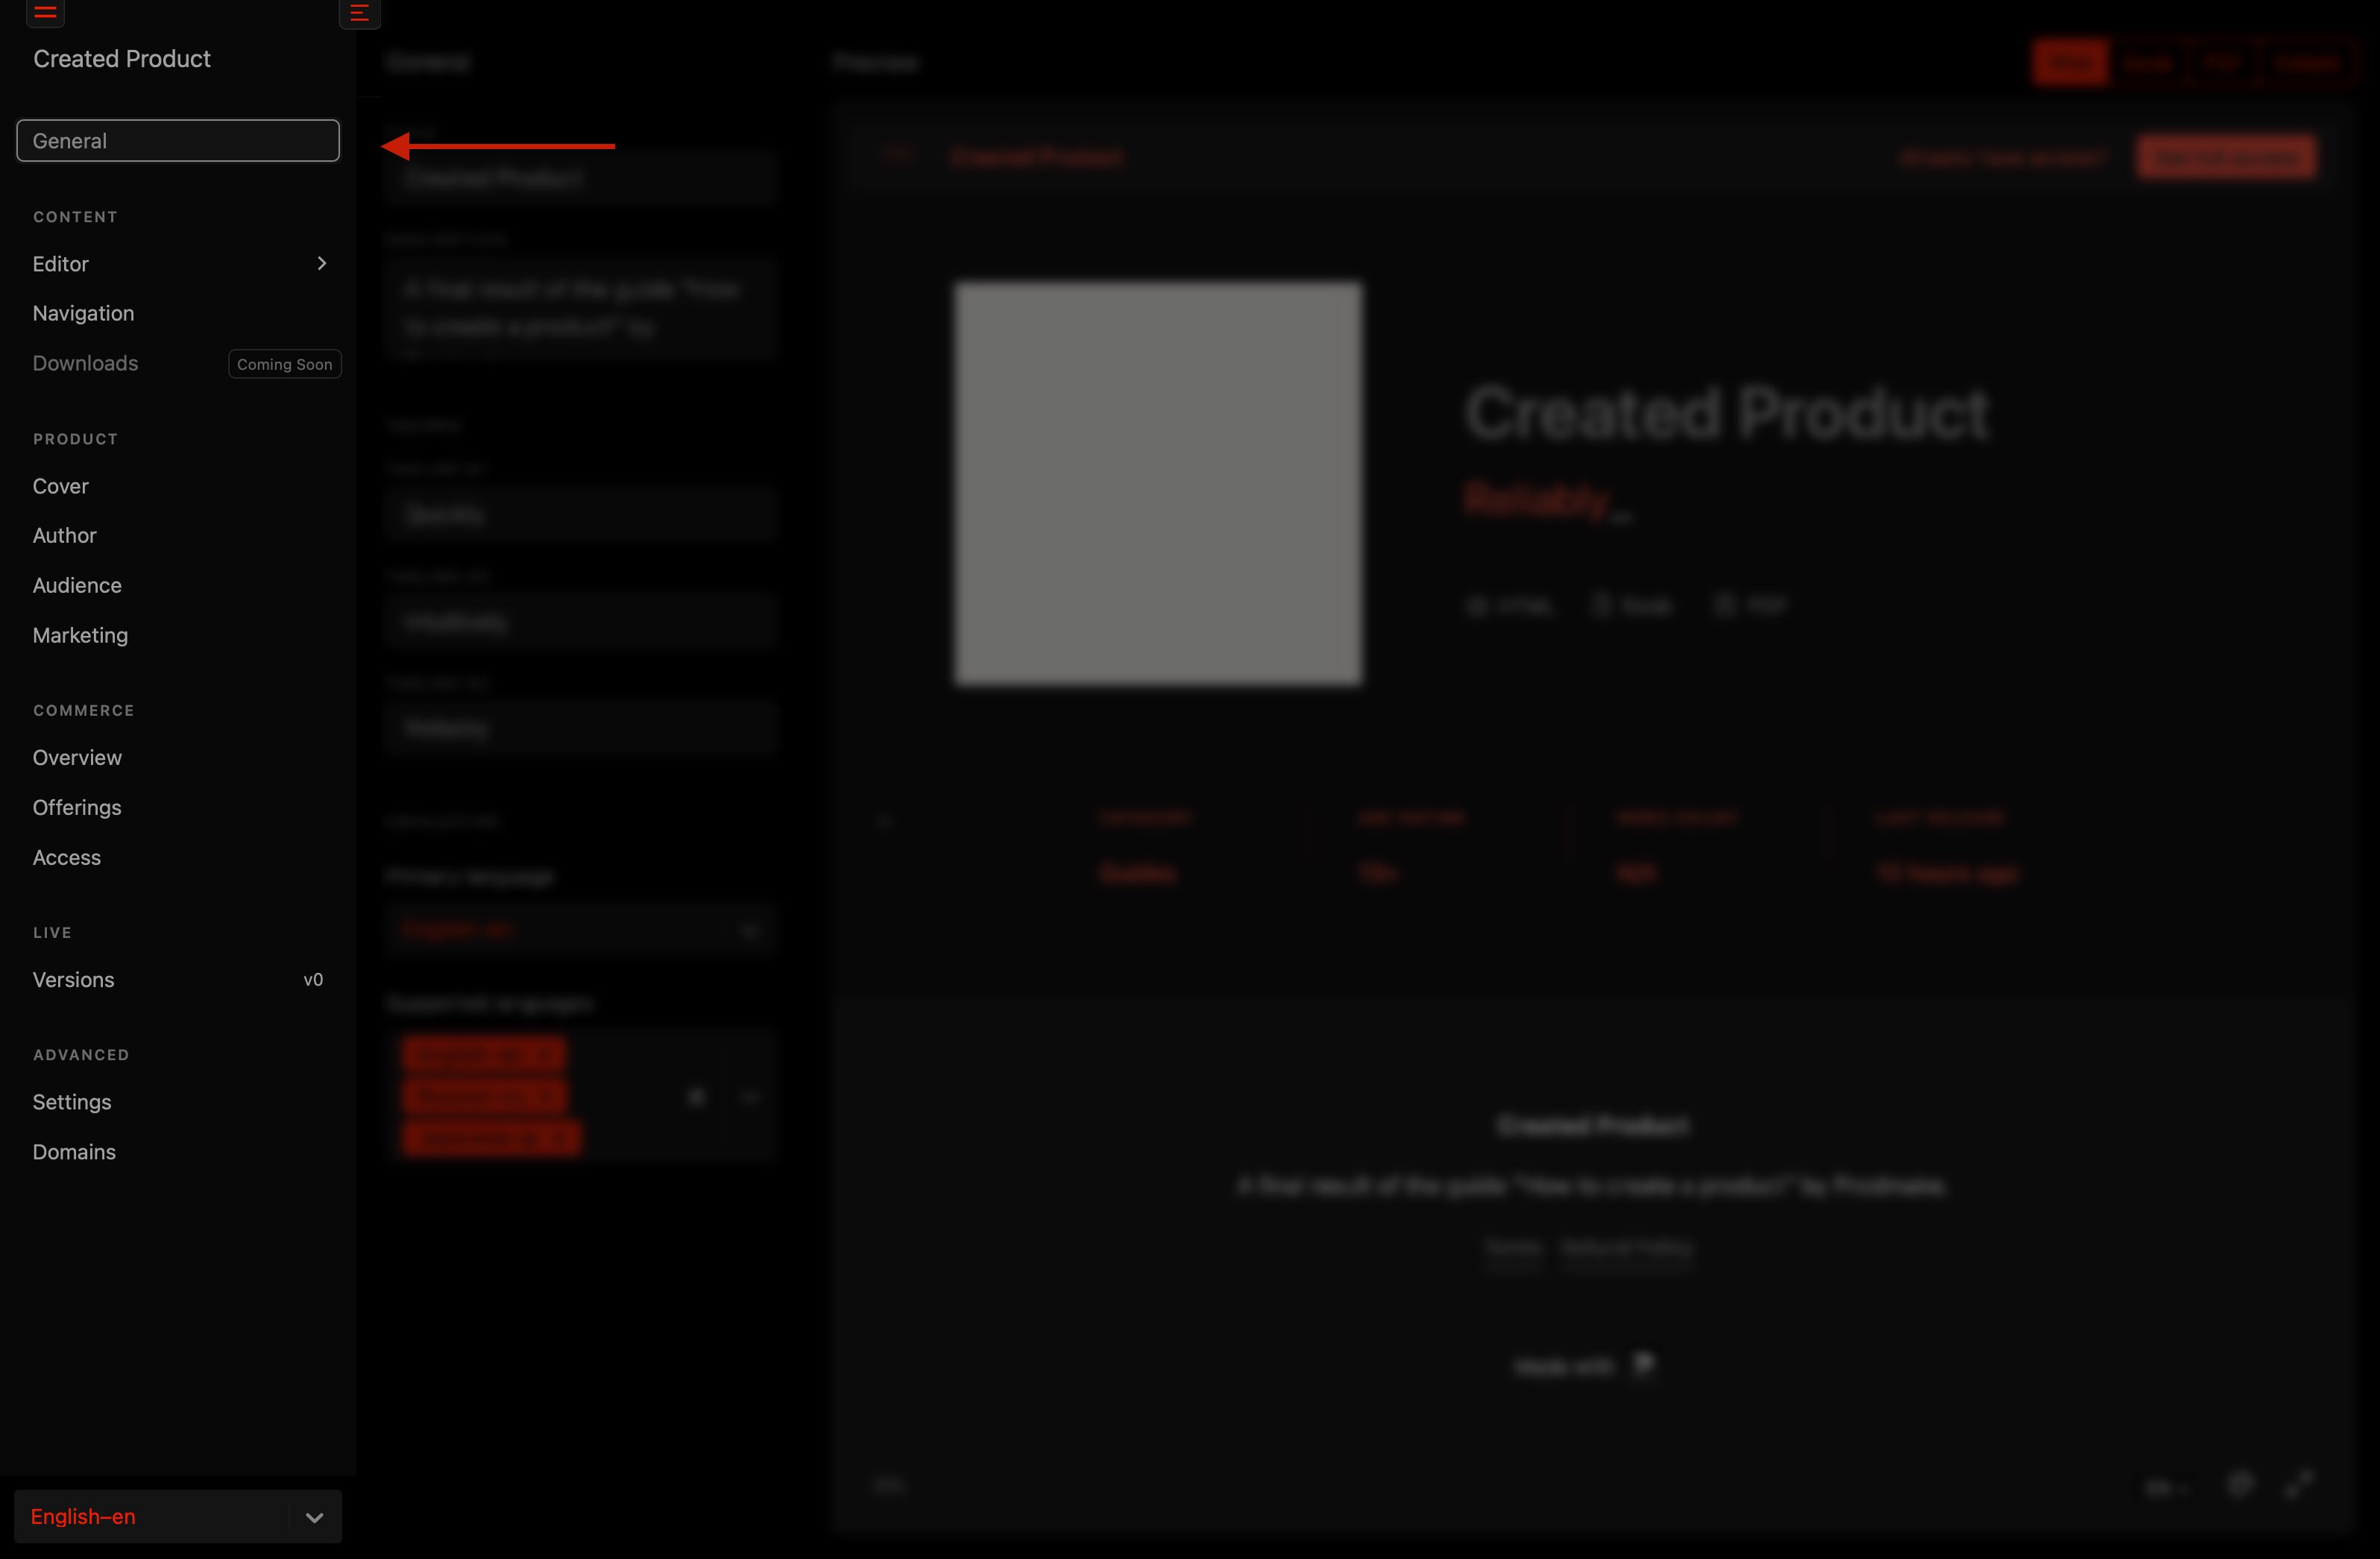
The Product navigation is where you can modify and configure the specific details of your newly created product.
Depending on the product type you selected, there may be additional options and settings available to you in the navigation. For example, Book has Offerings enabled by default while Blog does not. So you’ll see “Commerce” section with “Offerings” and “Access” where you can set the price and specify what offering contains what.
You’ll see that navigation is broken down into sections:
General– where you set up title, description, taglines, and supported languages.Content– where your content and structure lives.Product– where you manage presentation including cover, audience, third-party links.Live– where you publish new versions (private, public, in Prodmake store).Advanced– where you can import and export your product and set up custom domains.
Sidebar
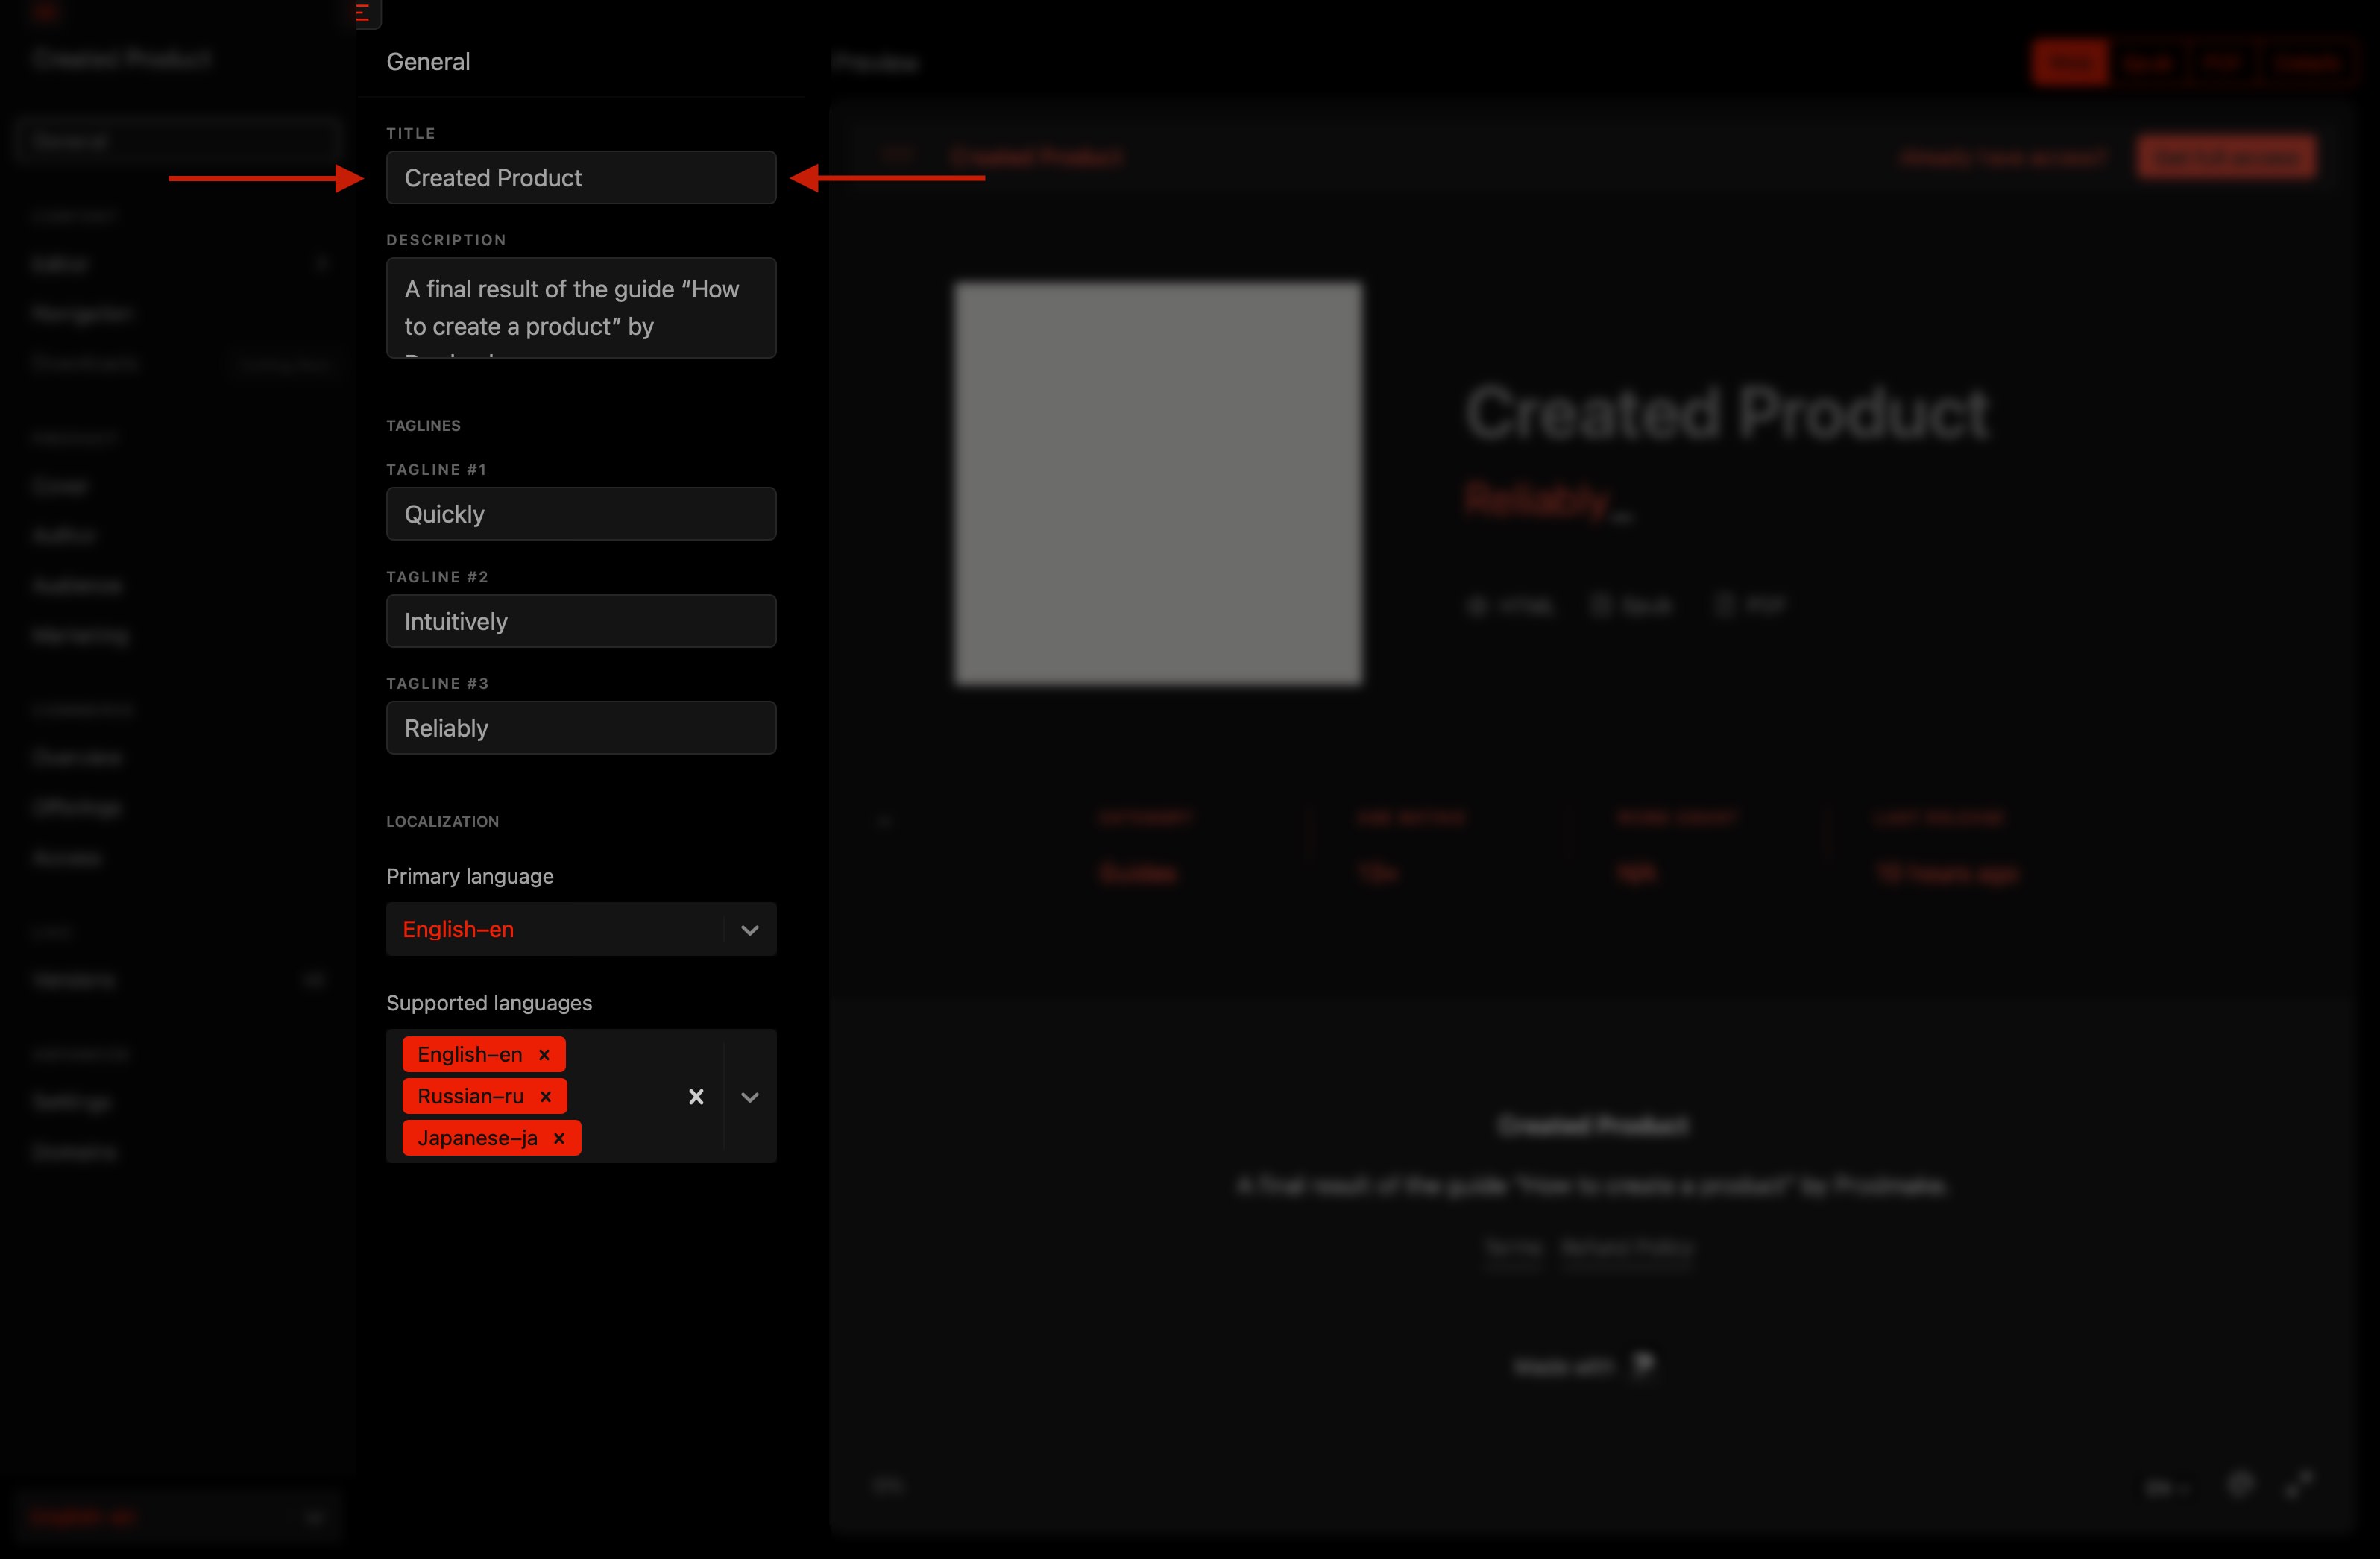
Each section view has its own Sidebar where you can see and edit information.
Preview
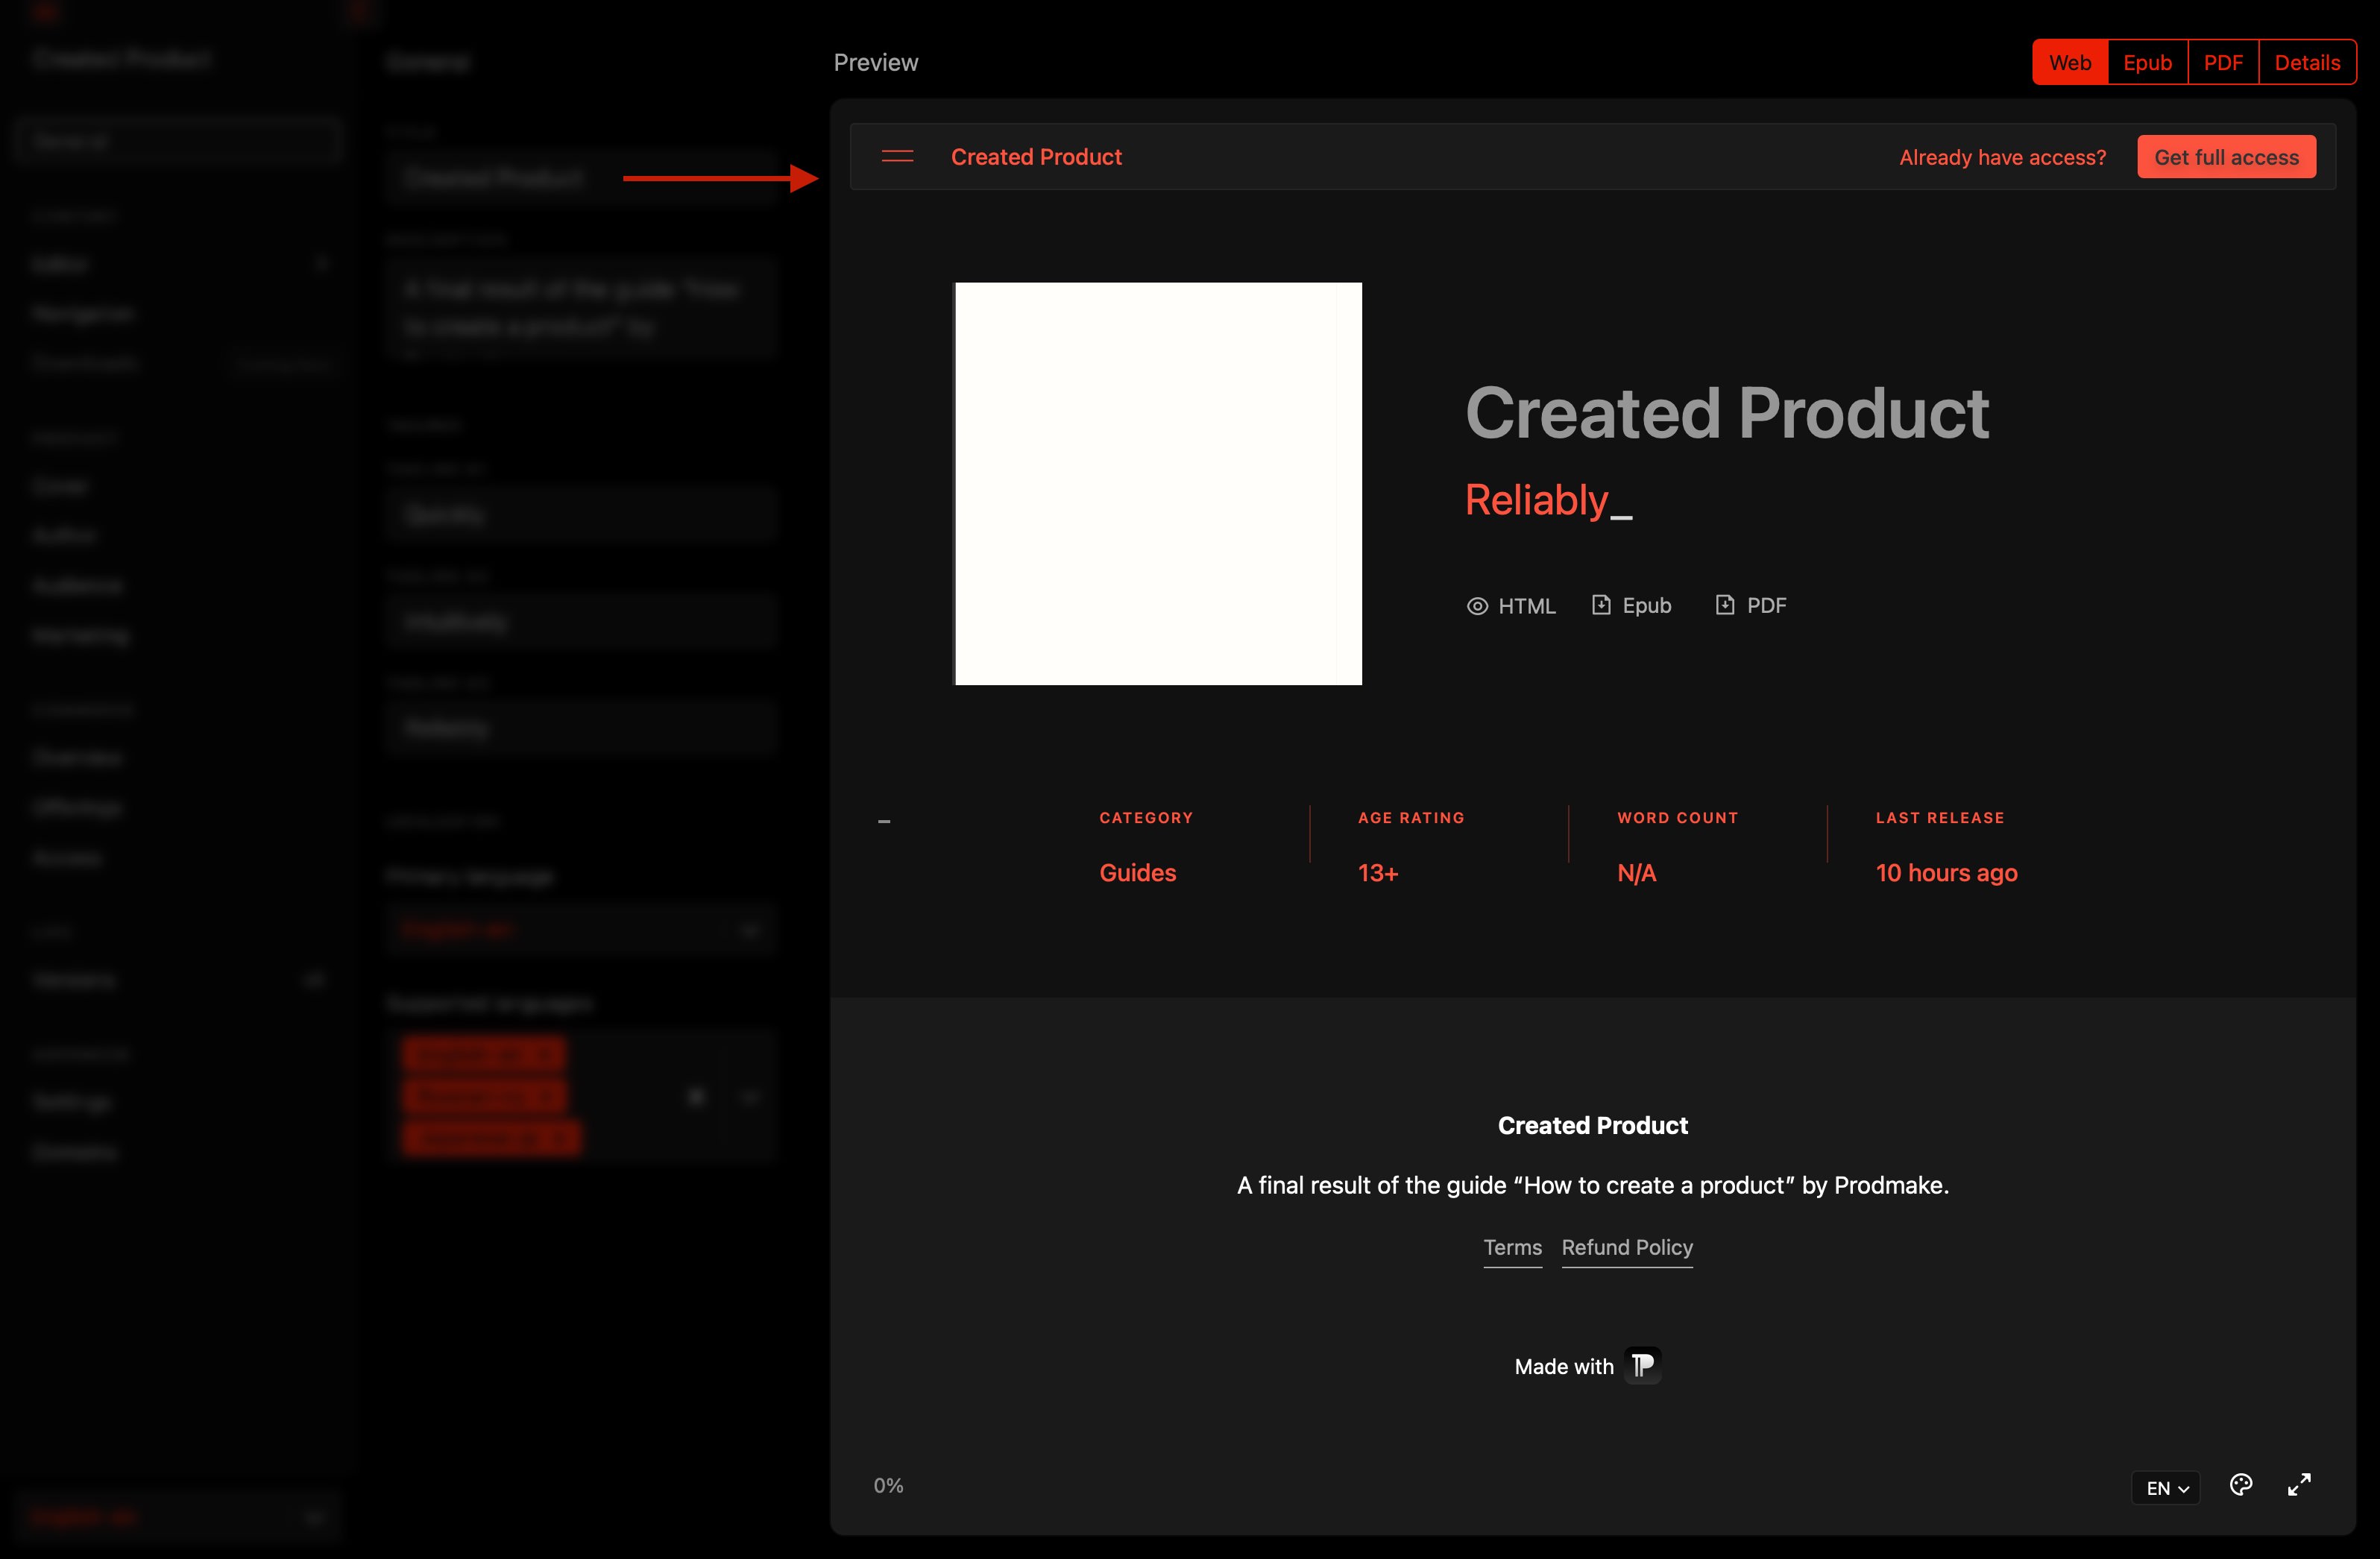
As you can see, all of the changes are instantly reflected in the Preview which is always-on unless you’re editing content. Preview has support for Web, Epub, and PDF (even JSON if you need it).
Content & Editor
Let’s add some content. For that we need to go into Editor.
Here, click + button next to Collections to create a new item. As you can see, there’s stats for all of the content showing the word and pages count.
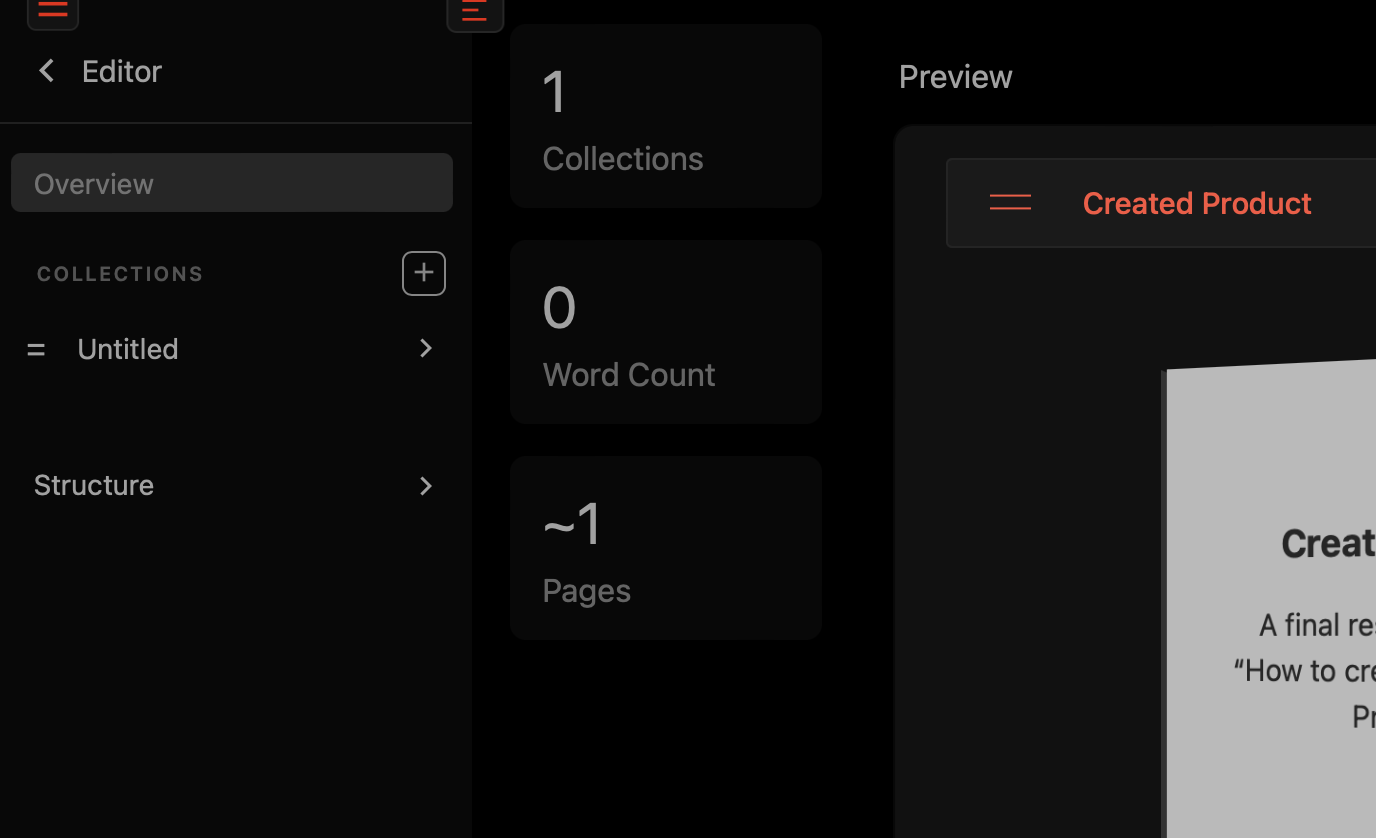
Let’s click on a new Untitled collection you created.
It will not have anything, so click on + button next to the collection title. That’ll create a new page/chapter/item which consists of a title, subtitle, and content.

On the right you can find a Details sidebar which shows you the page slug (a part of the URL in the browser) and collections this item is included in.
Now, create at least three pages with random content so that collection has some material.

Like so.
Composing
An important note about composing is that one page/chapter may belong to different products which is generally accessible in Ideas tab found in your workspace. It’s there for composing products out of your existing work.
Setting up the Offerings
Ok, now let’s go back into the offerings under Commerce section in product navigation.
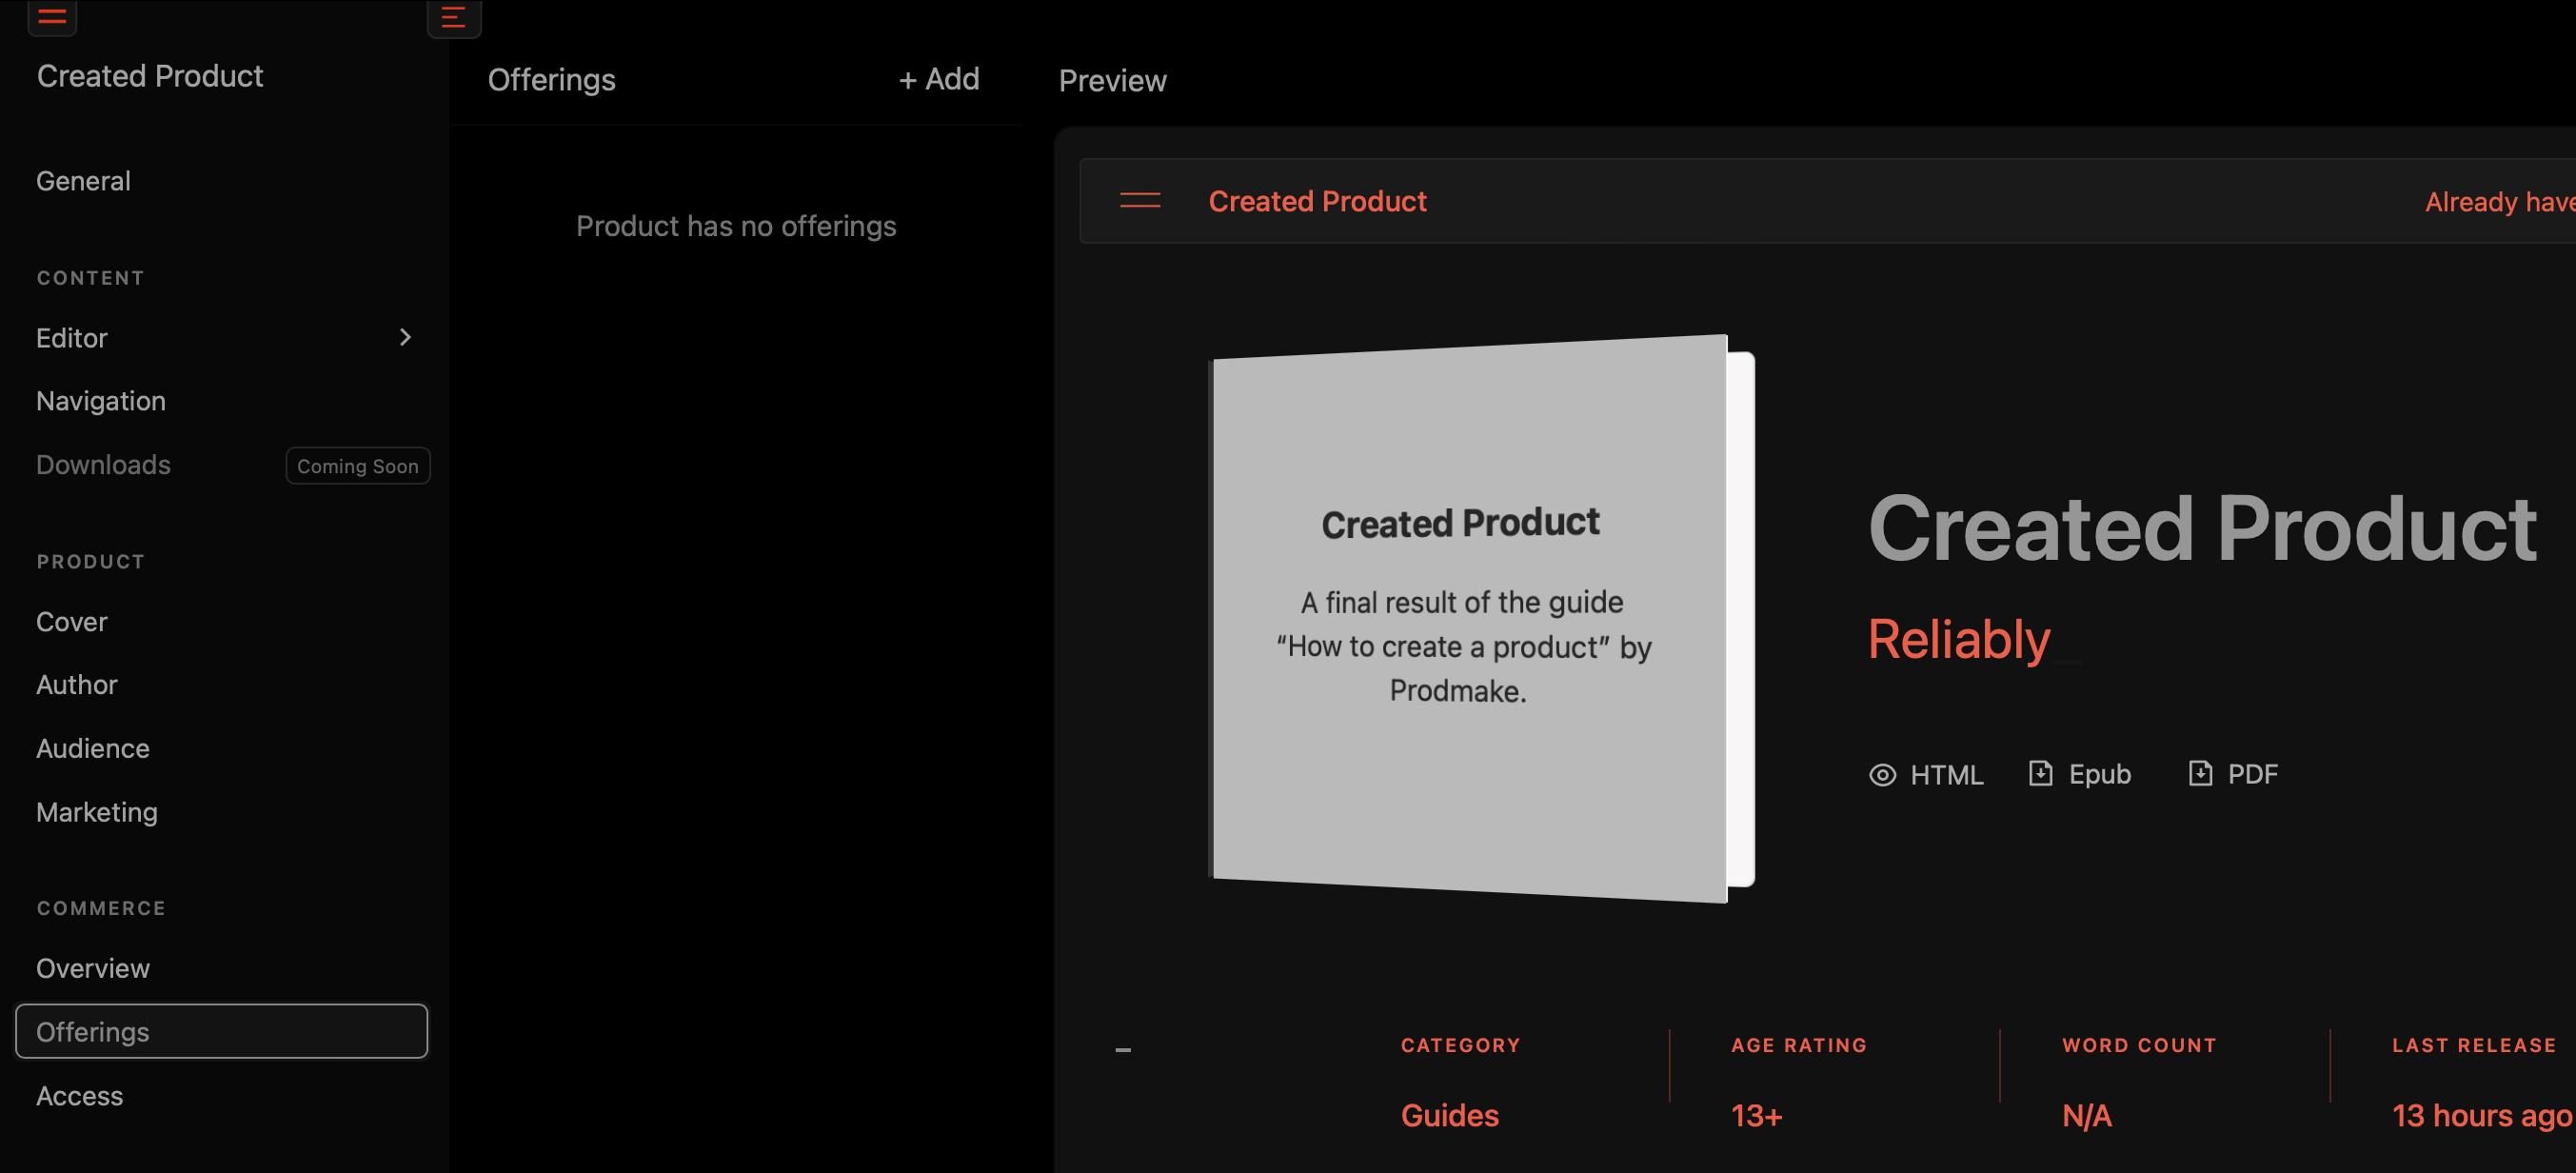
Since it doesn’t have any offerings, let’s create a new offering by clicking + button.
Now let’s add the title, cost and currency.
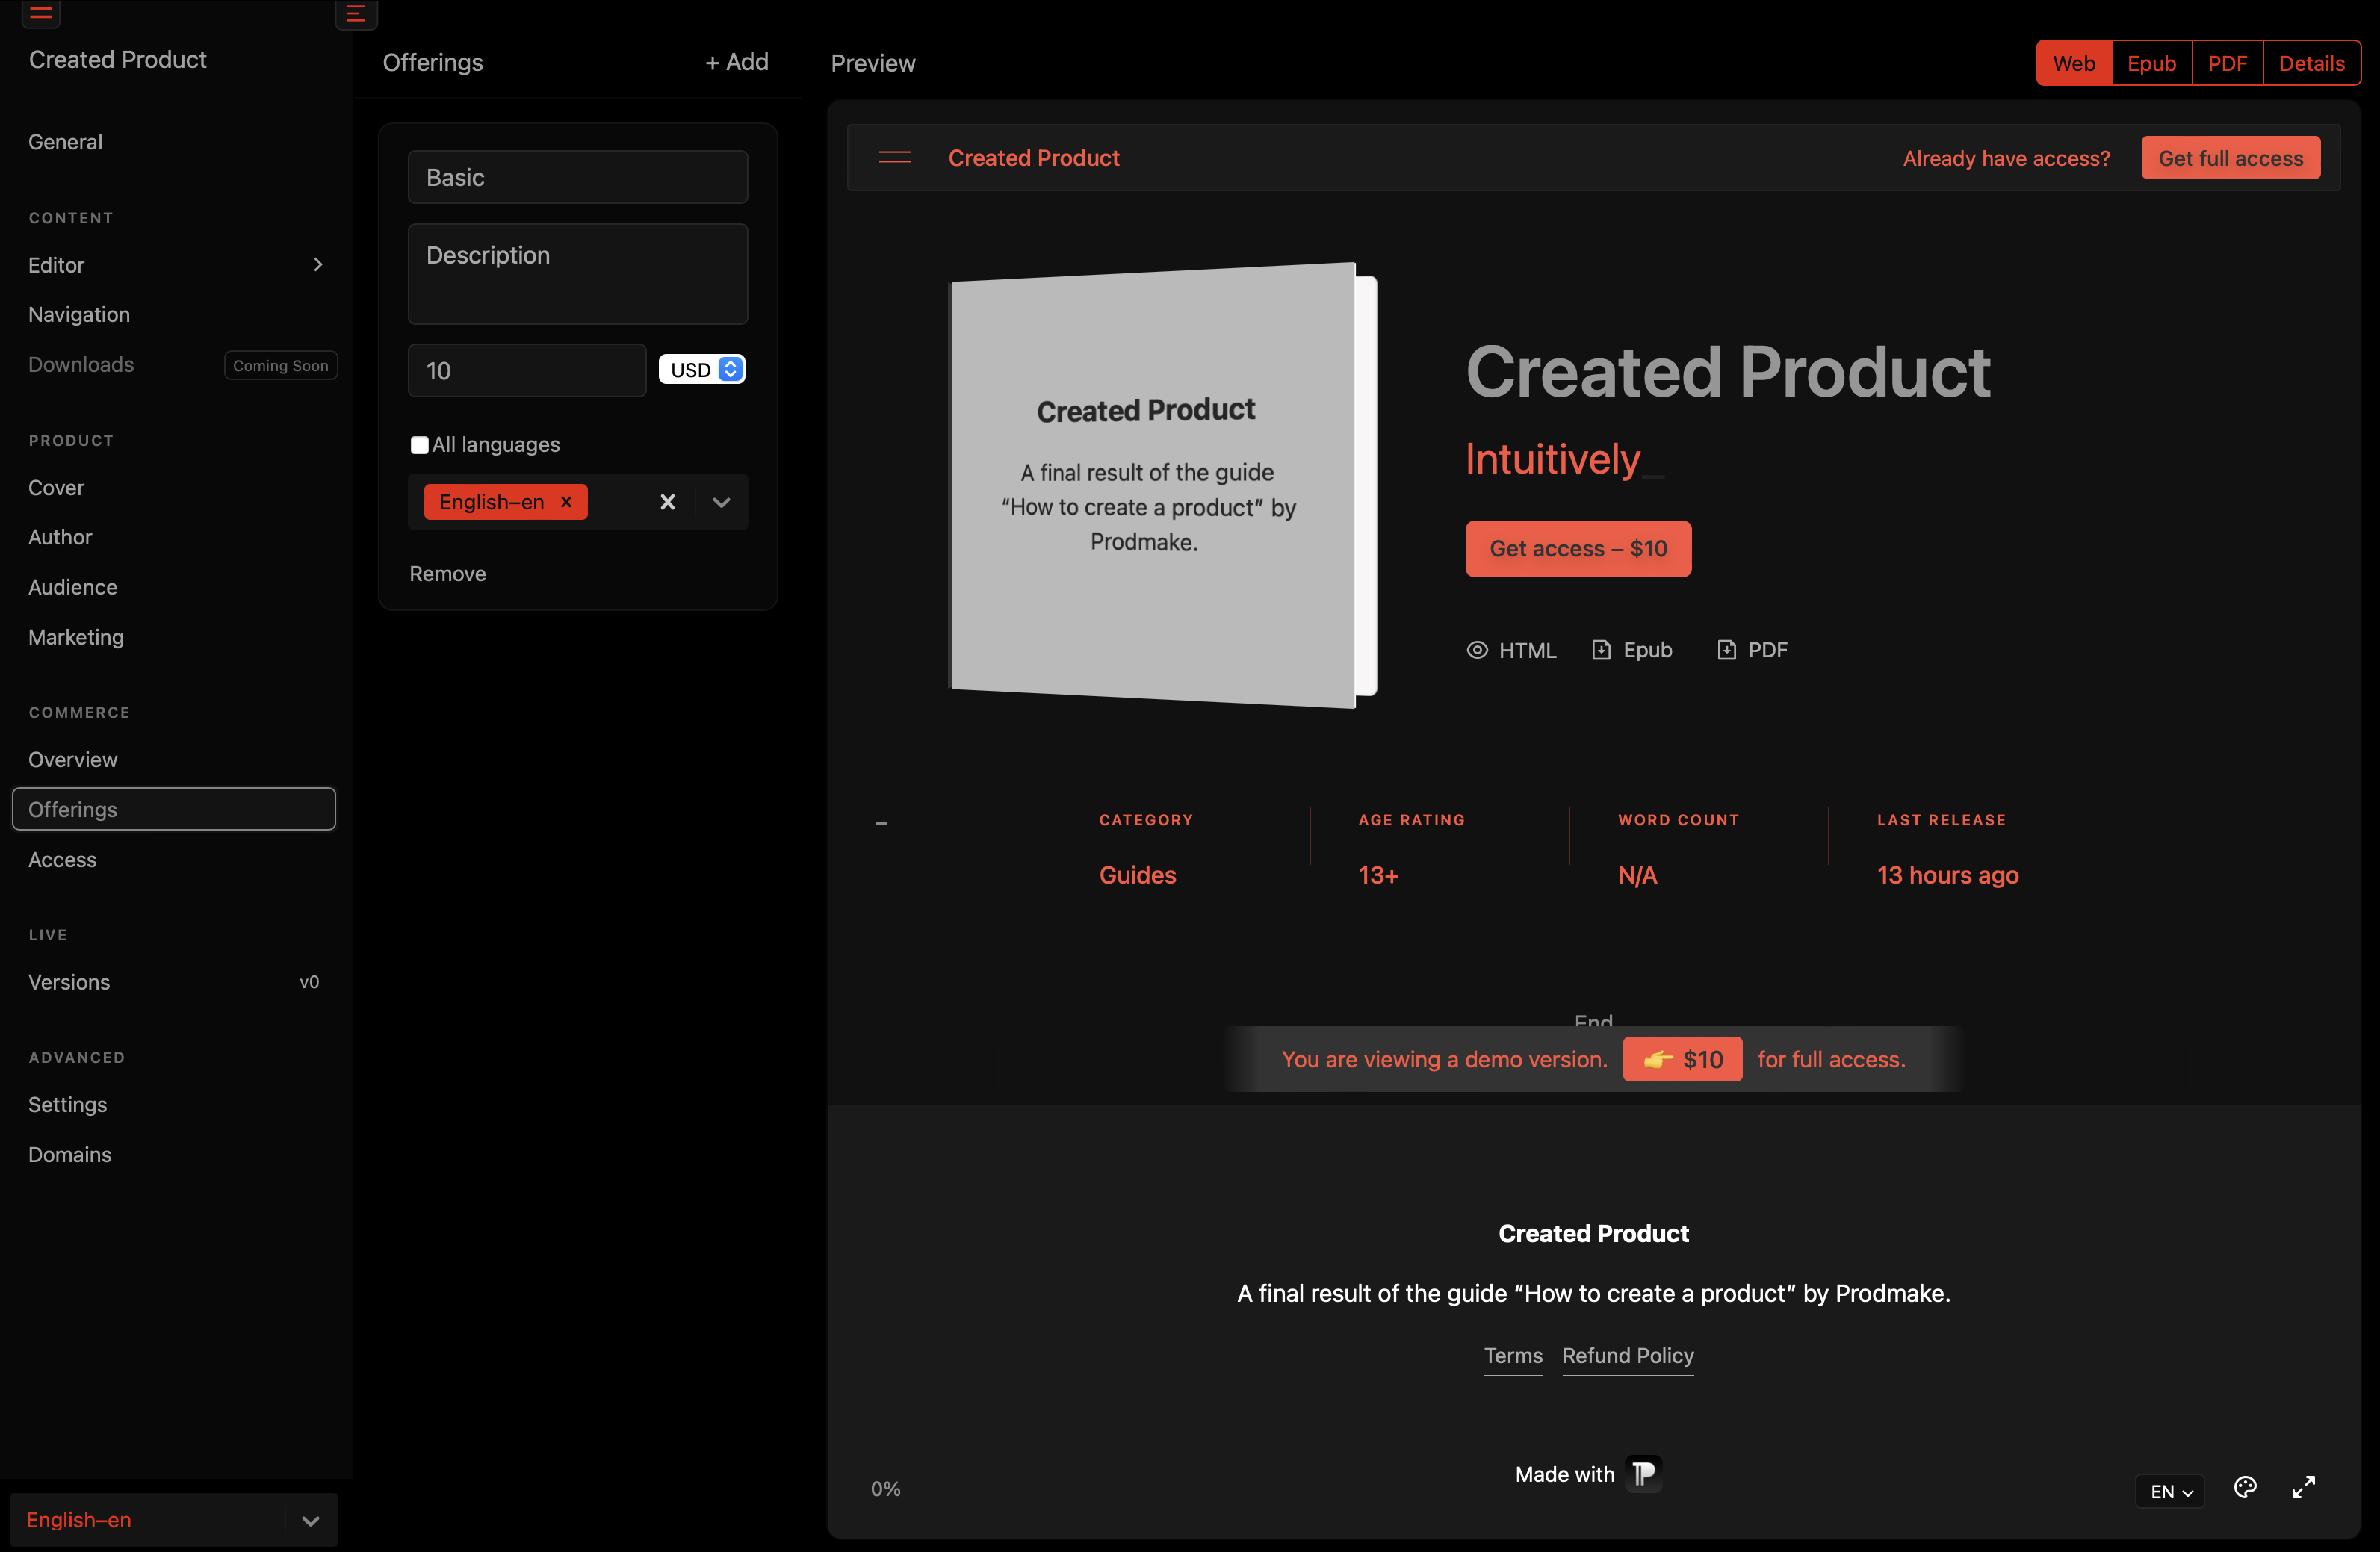
It’ll look like this. Notice the change in the Preview. It instantly shows the call-to-action button with the price you put in.
Exciting!
Access
Now let’s go to Access control to set what is included and what is restricted.
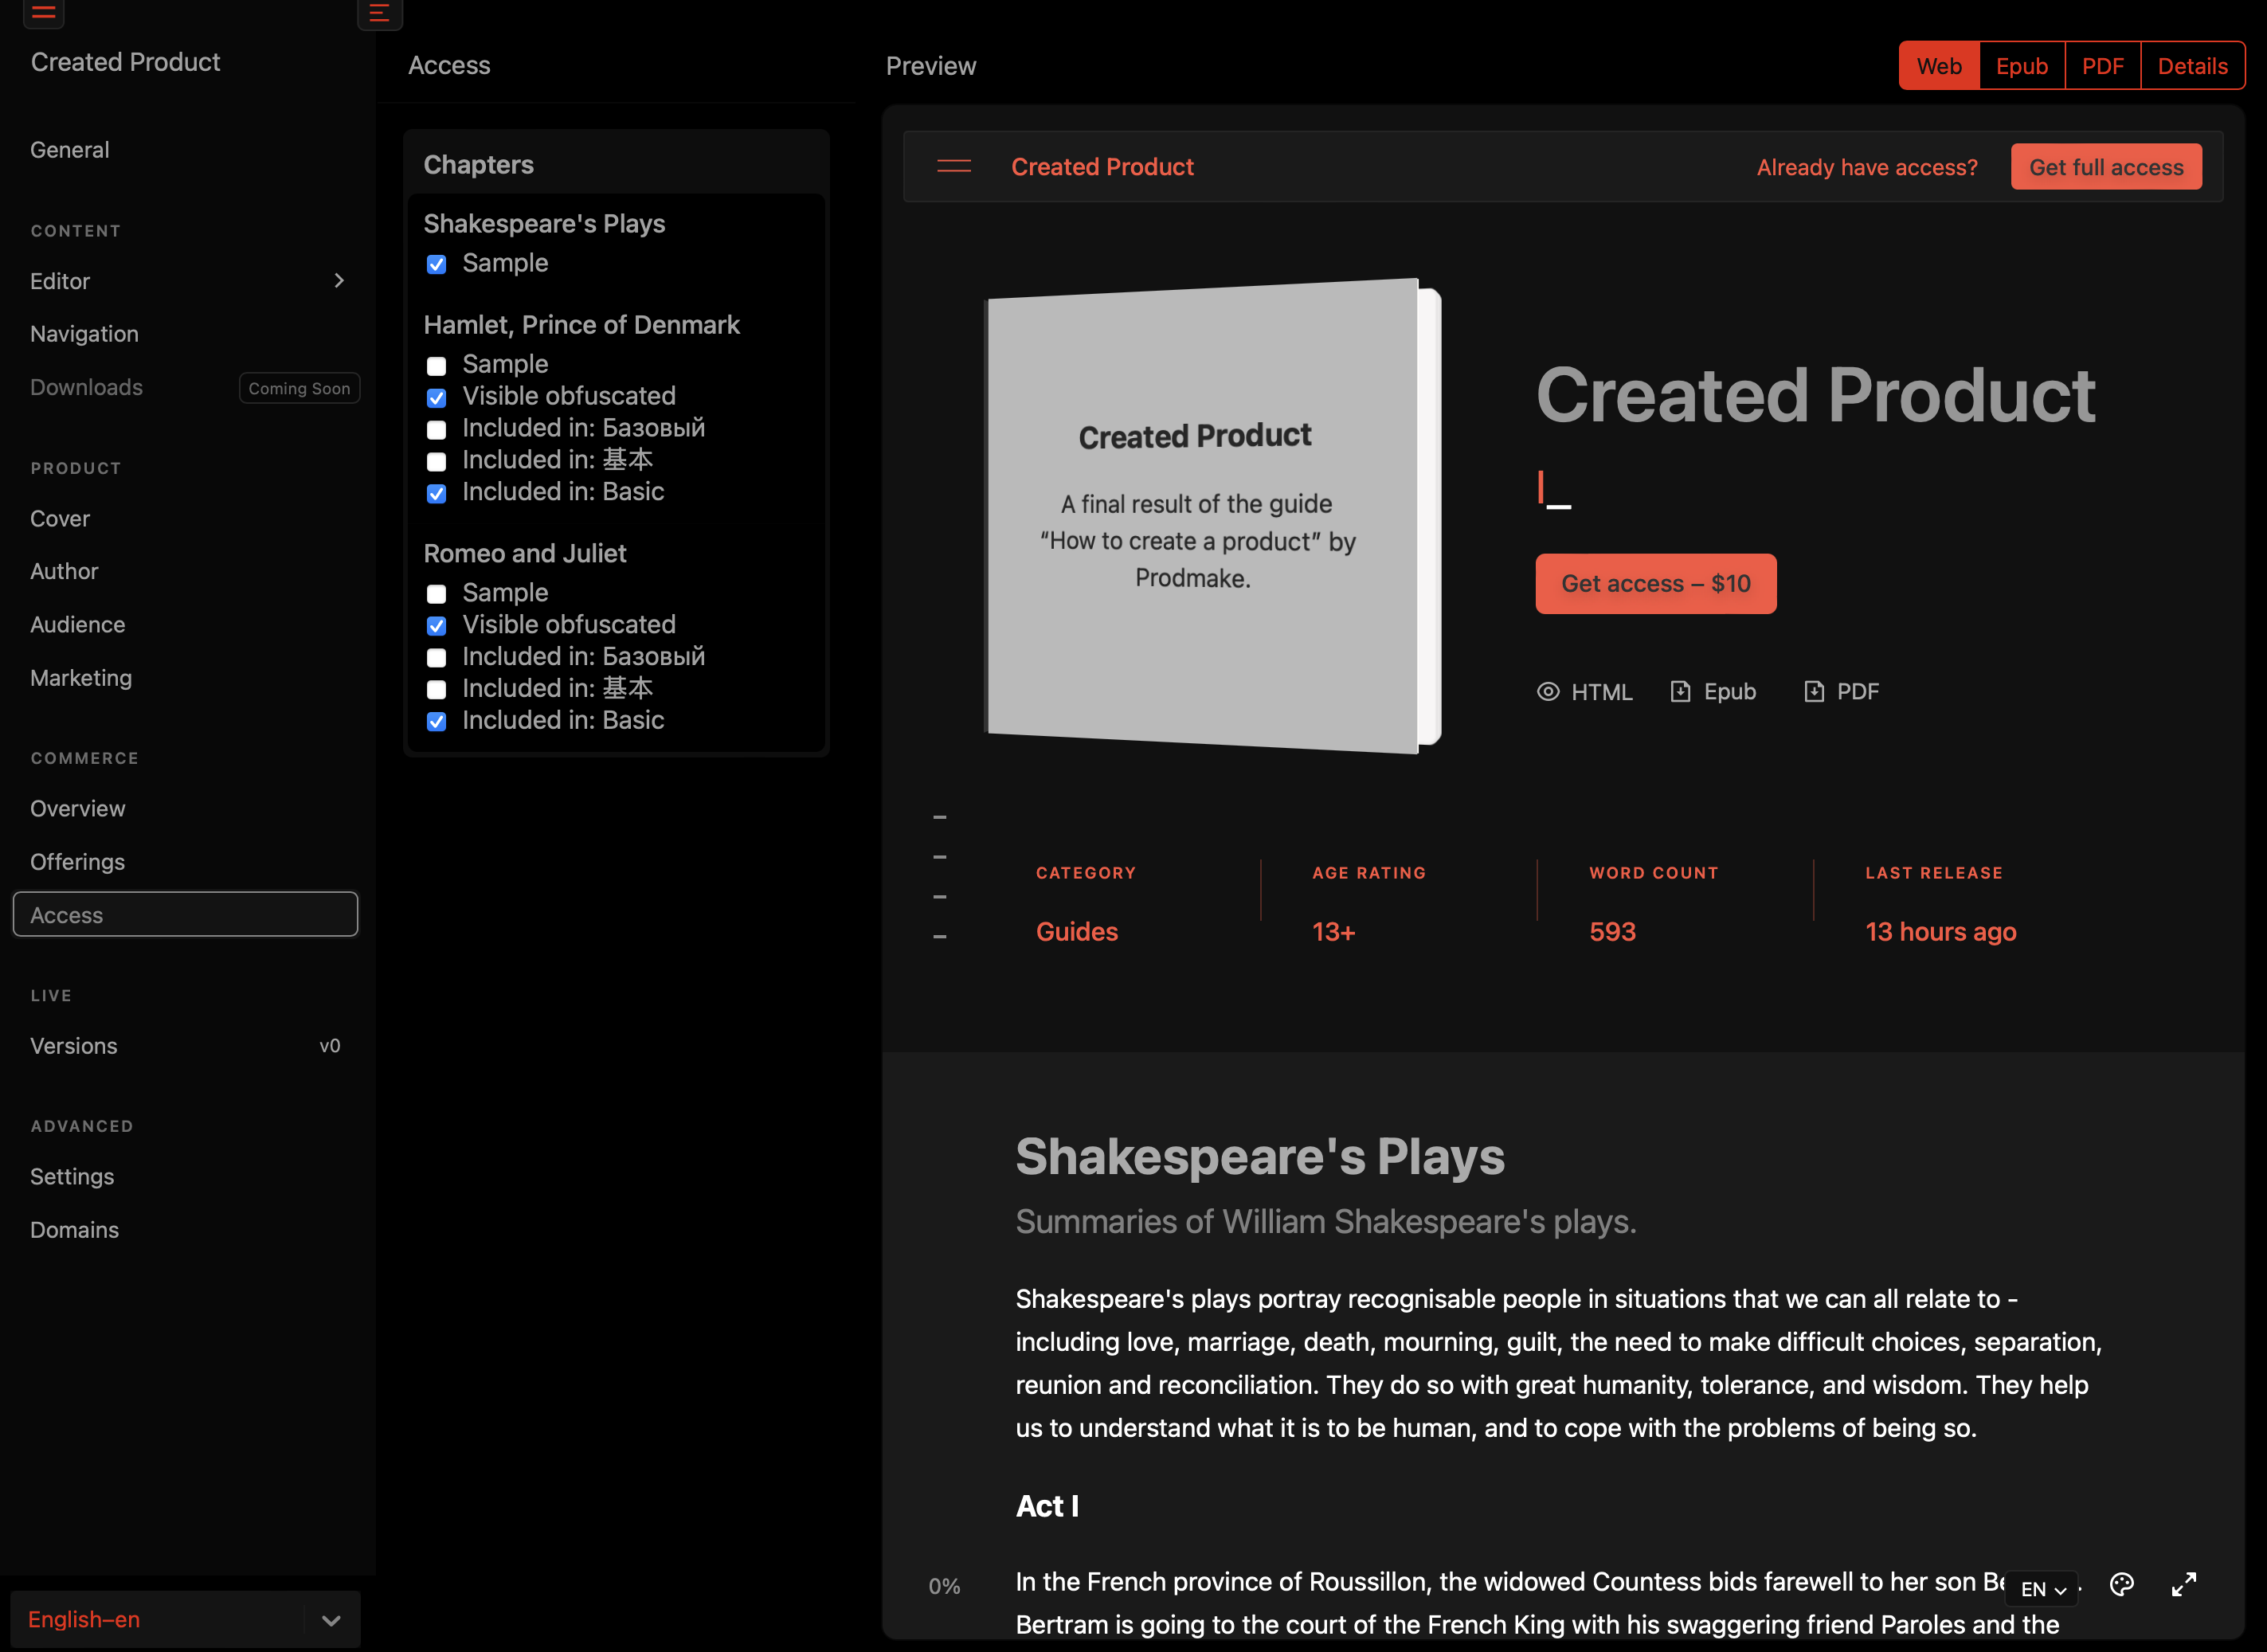
As you can see we have three “Chapters”. You can set each page as a:
sample – which means that the page is included for free and visible right away. It works great for books’ Introduction and Conclusion pages so that the reader can taste and literally sample your product.
visible obfuscated – which means that title, subtitle and first two paragraphs are page visible but the remaining part of the documents appears obfuscated/encrypted.
included in one of the offerings you have – which means that full access will be granted to the customer who acquired an offering.
Commerce Details
Let’s go to Commerce Overview where we can update the title, description and convincing points that will appear in payment window. It’s a nice little touch that should clearly state the value of your product before customers pull out their credit cards.
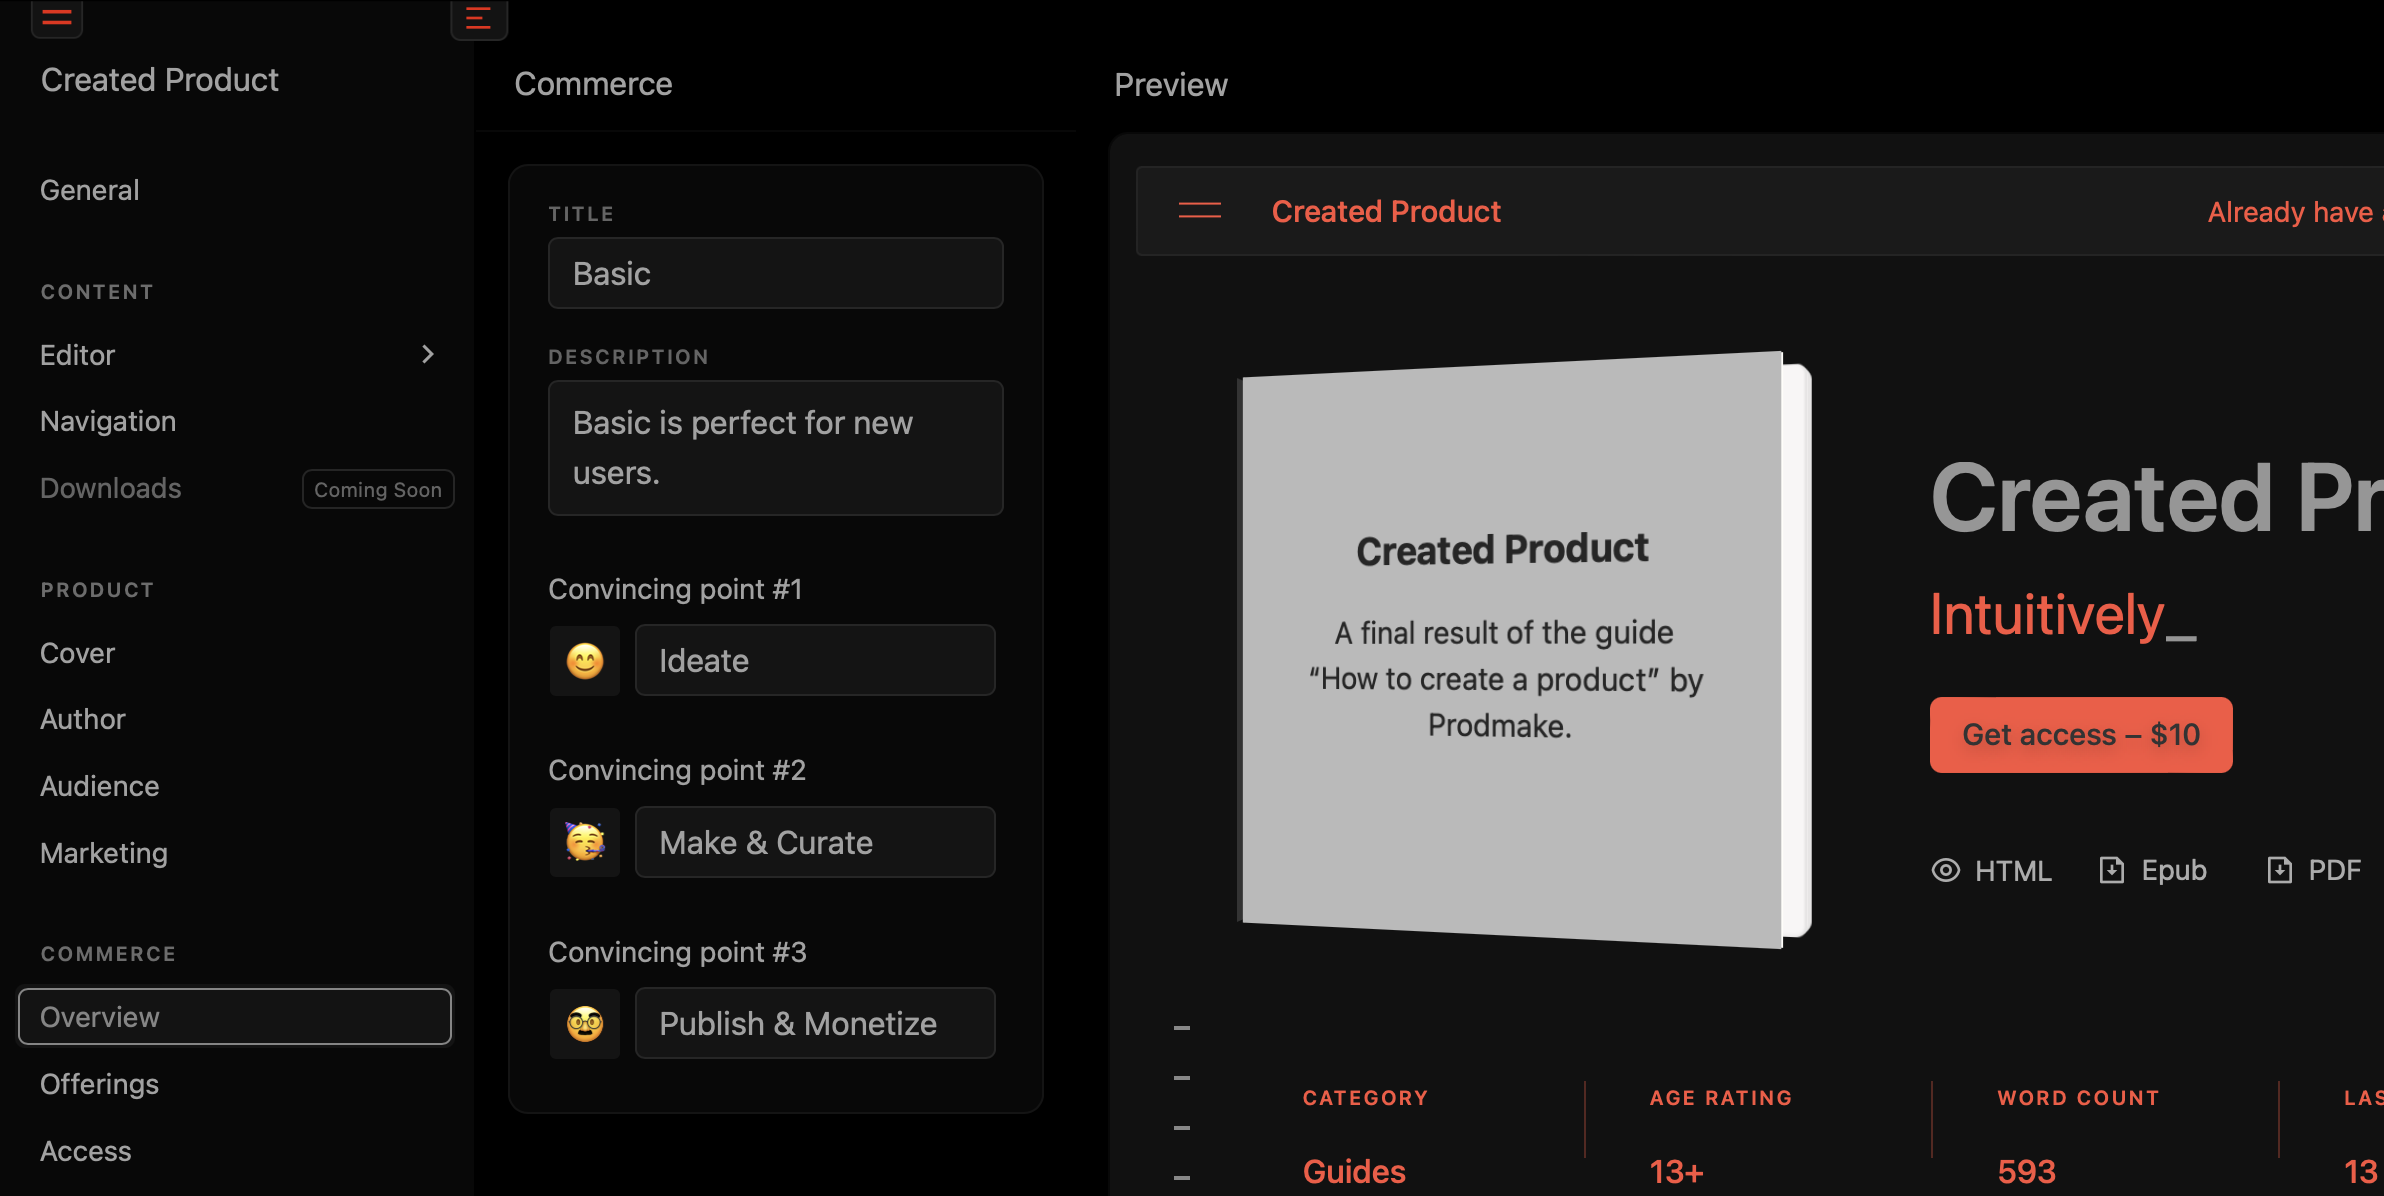
Neat little example.
Custom Domain
Let’s quickly go and set a custom domain in Advanced Domains section. As you can see I added created.prodmake.com and it’s verified.
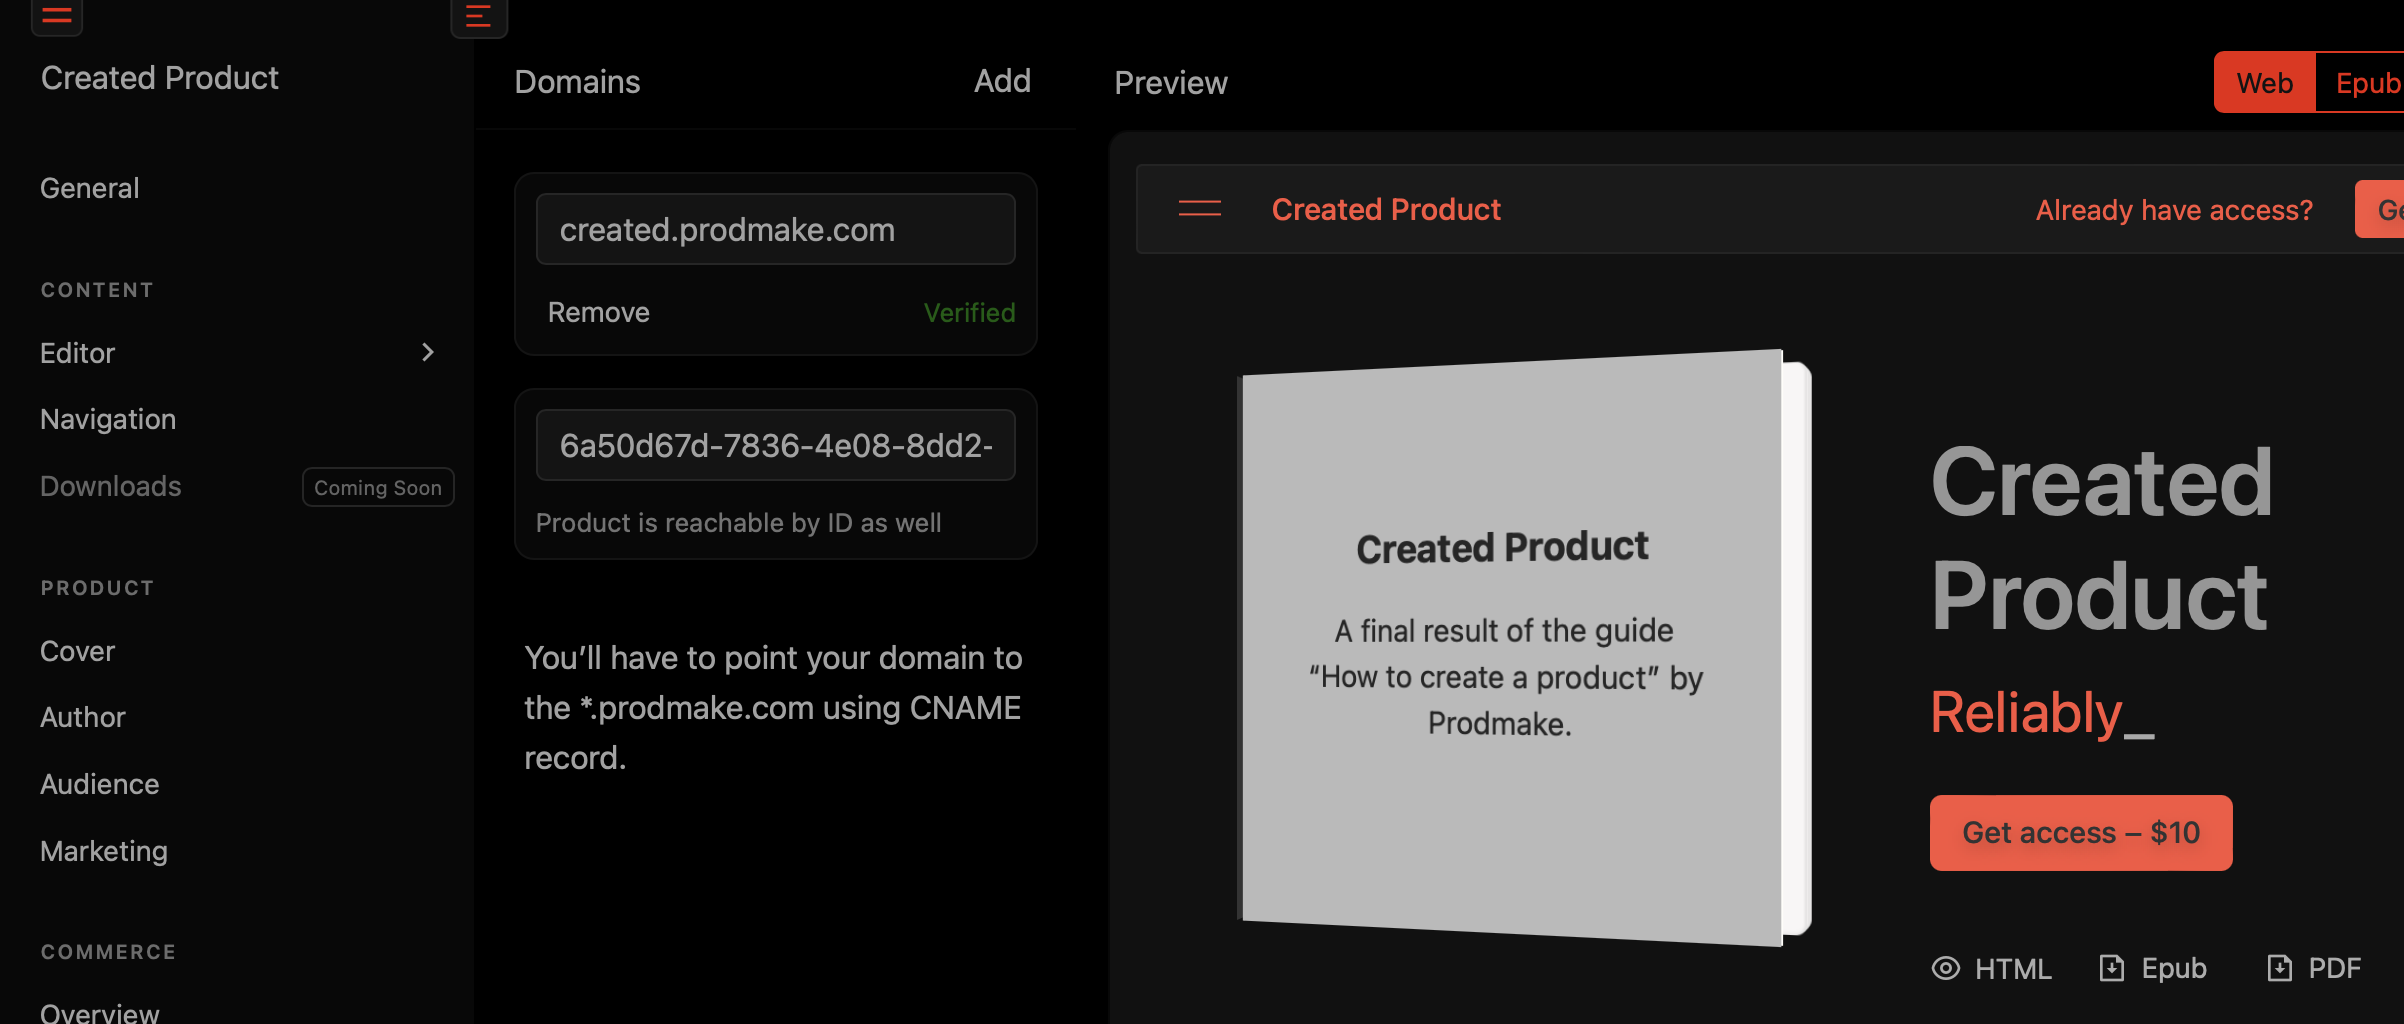
Let’s publish
Let’s go to Live Versions section. It’ll say you have no published versions which we can now fix.
Press on New button. You’ll see this modal window:
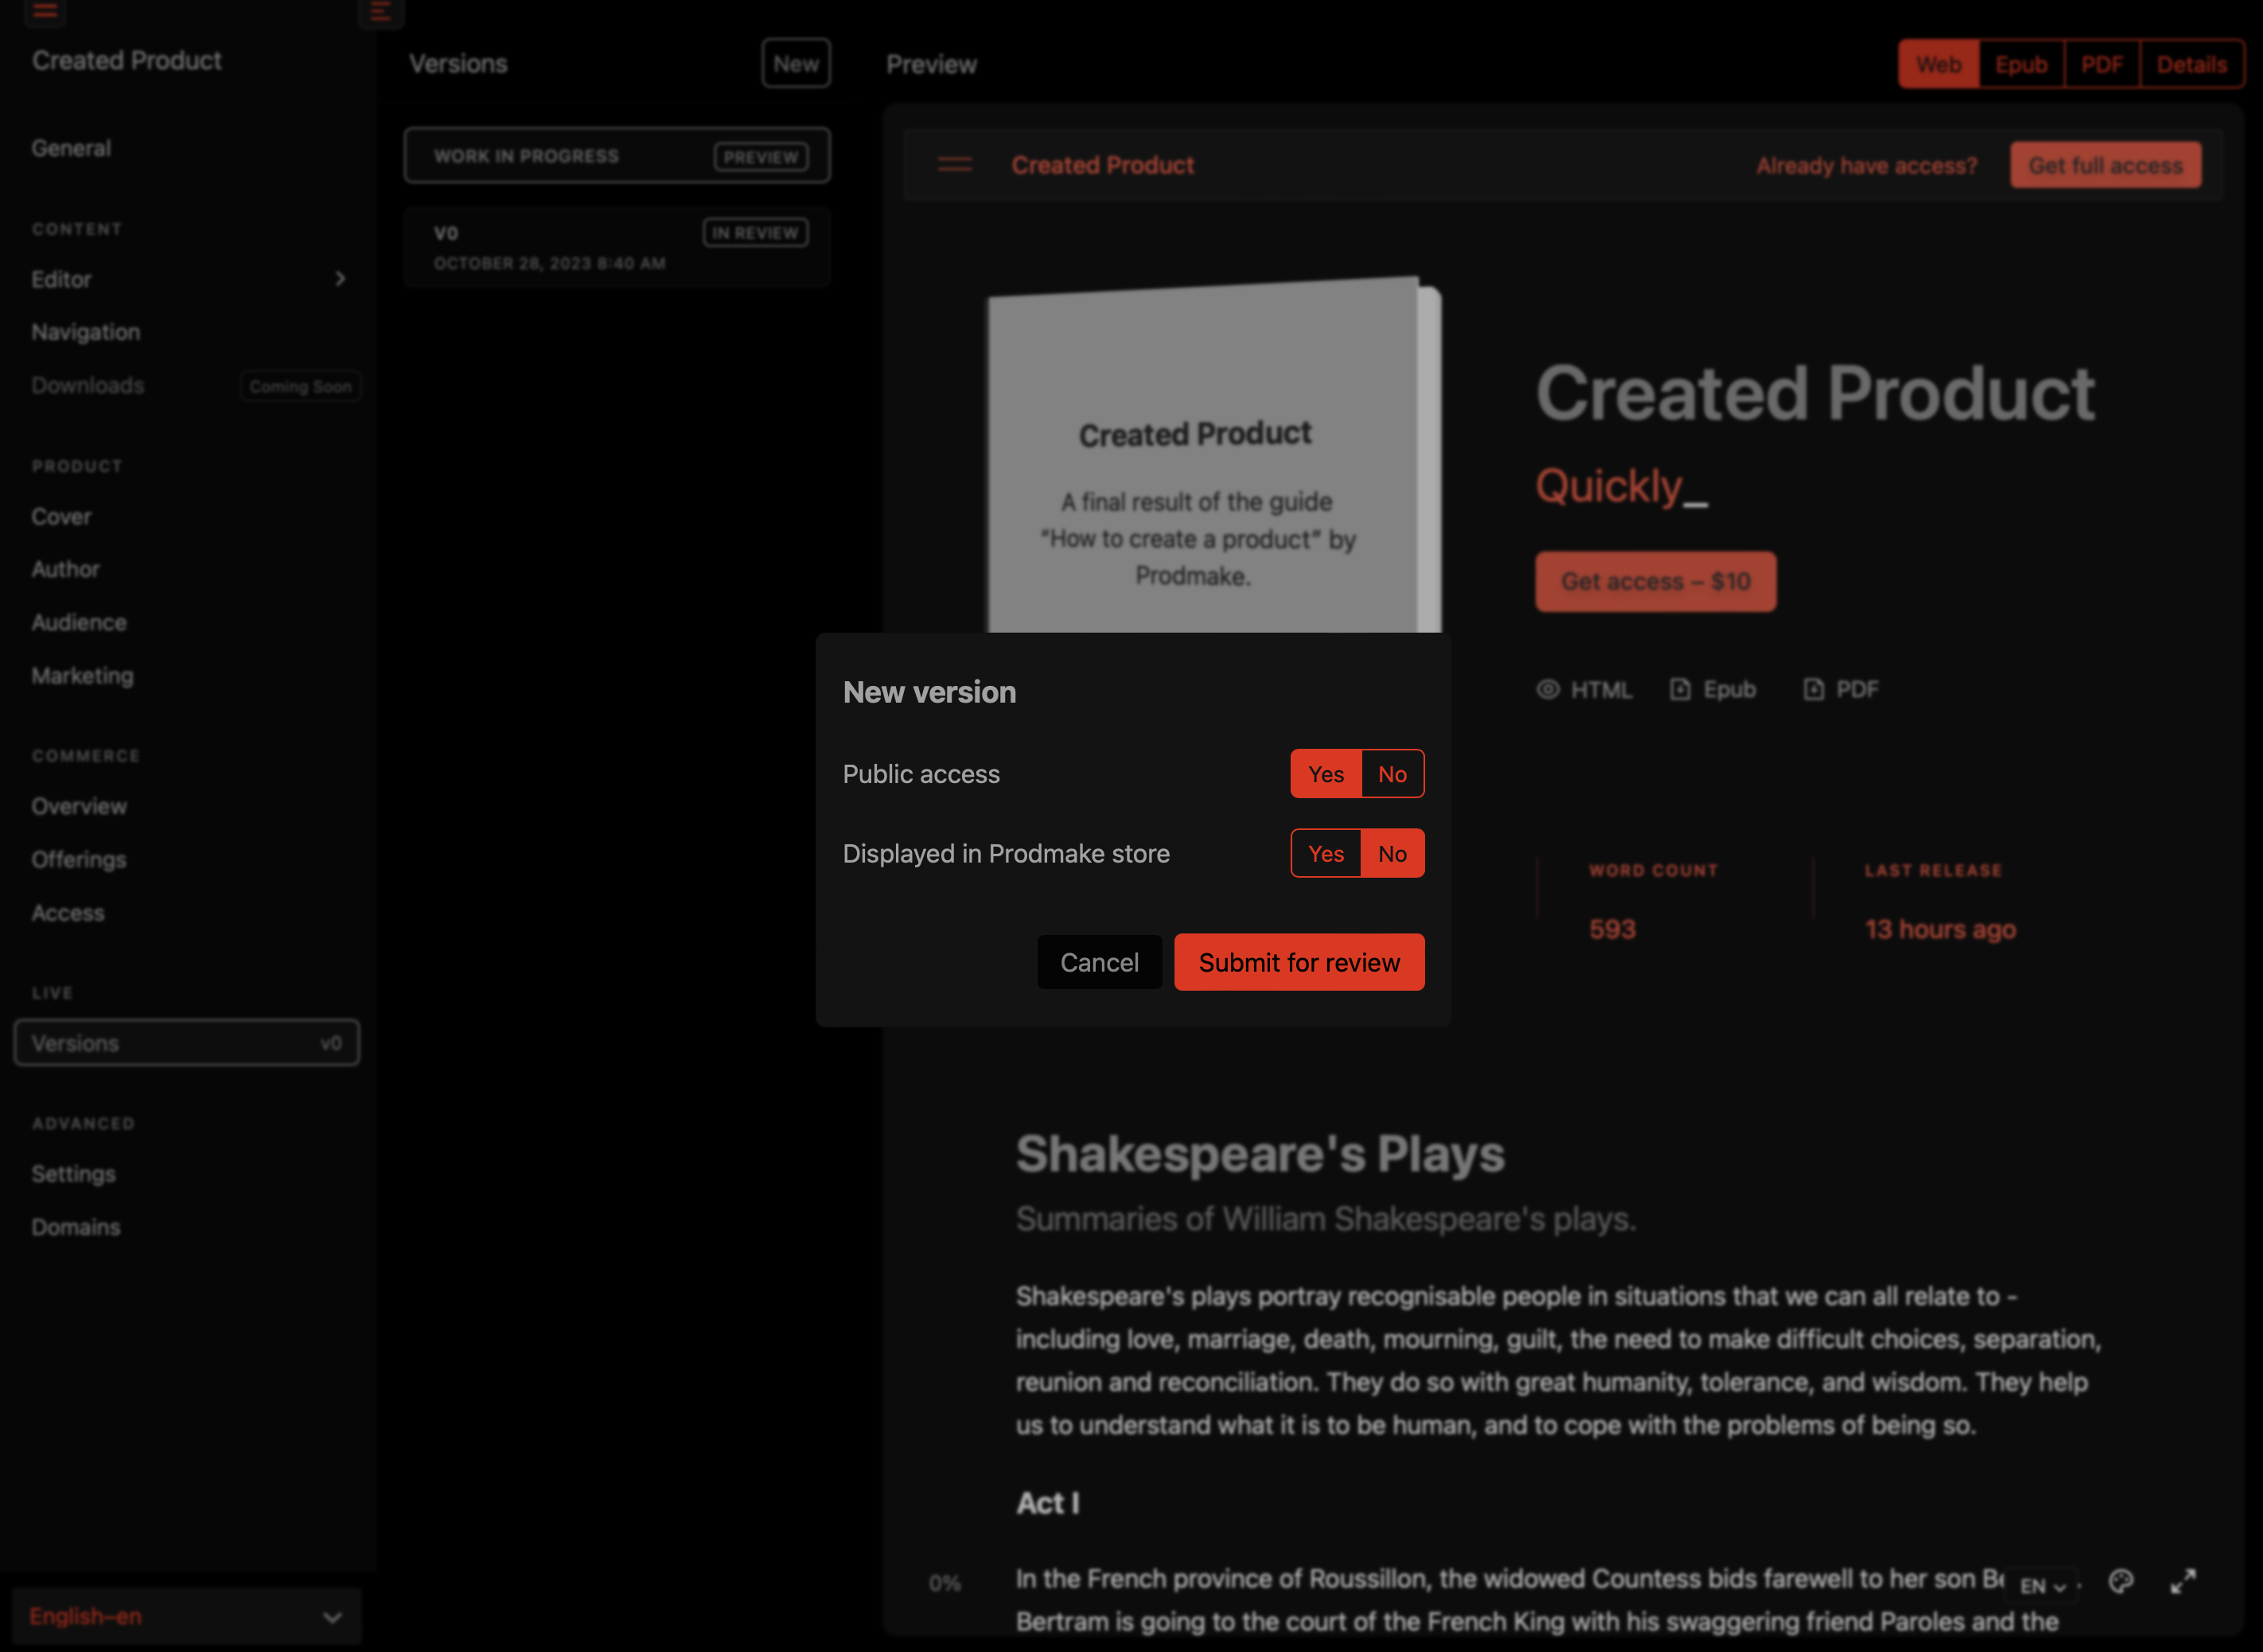
For this example let’s enable Public Access. As you can see, you can also submit your new product version to be visible in the Prodmake store. If you choose neither option, the version will be created for your own personal access.
Okay, let’s submit it now.
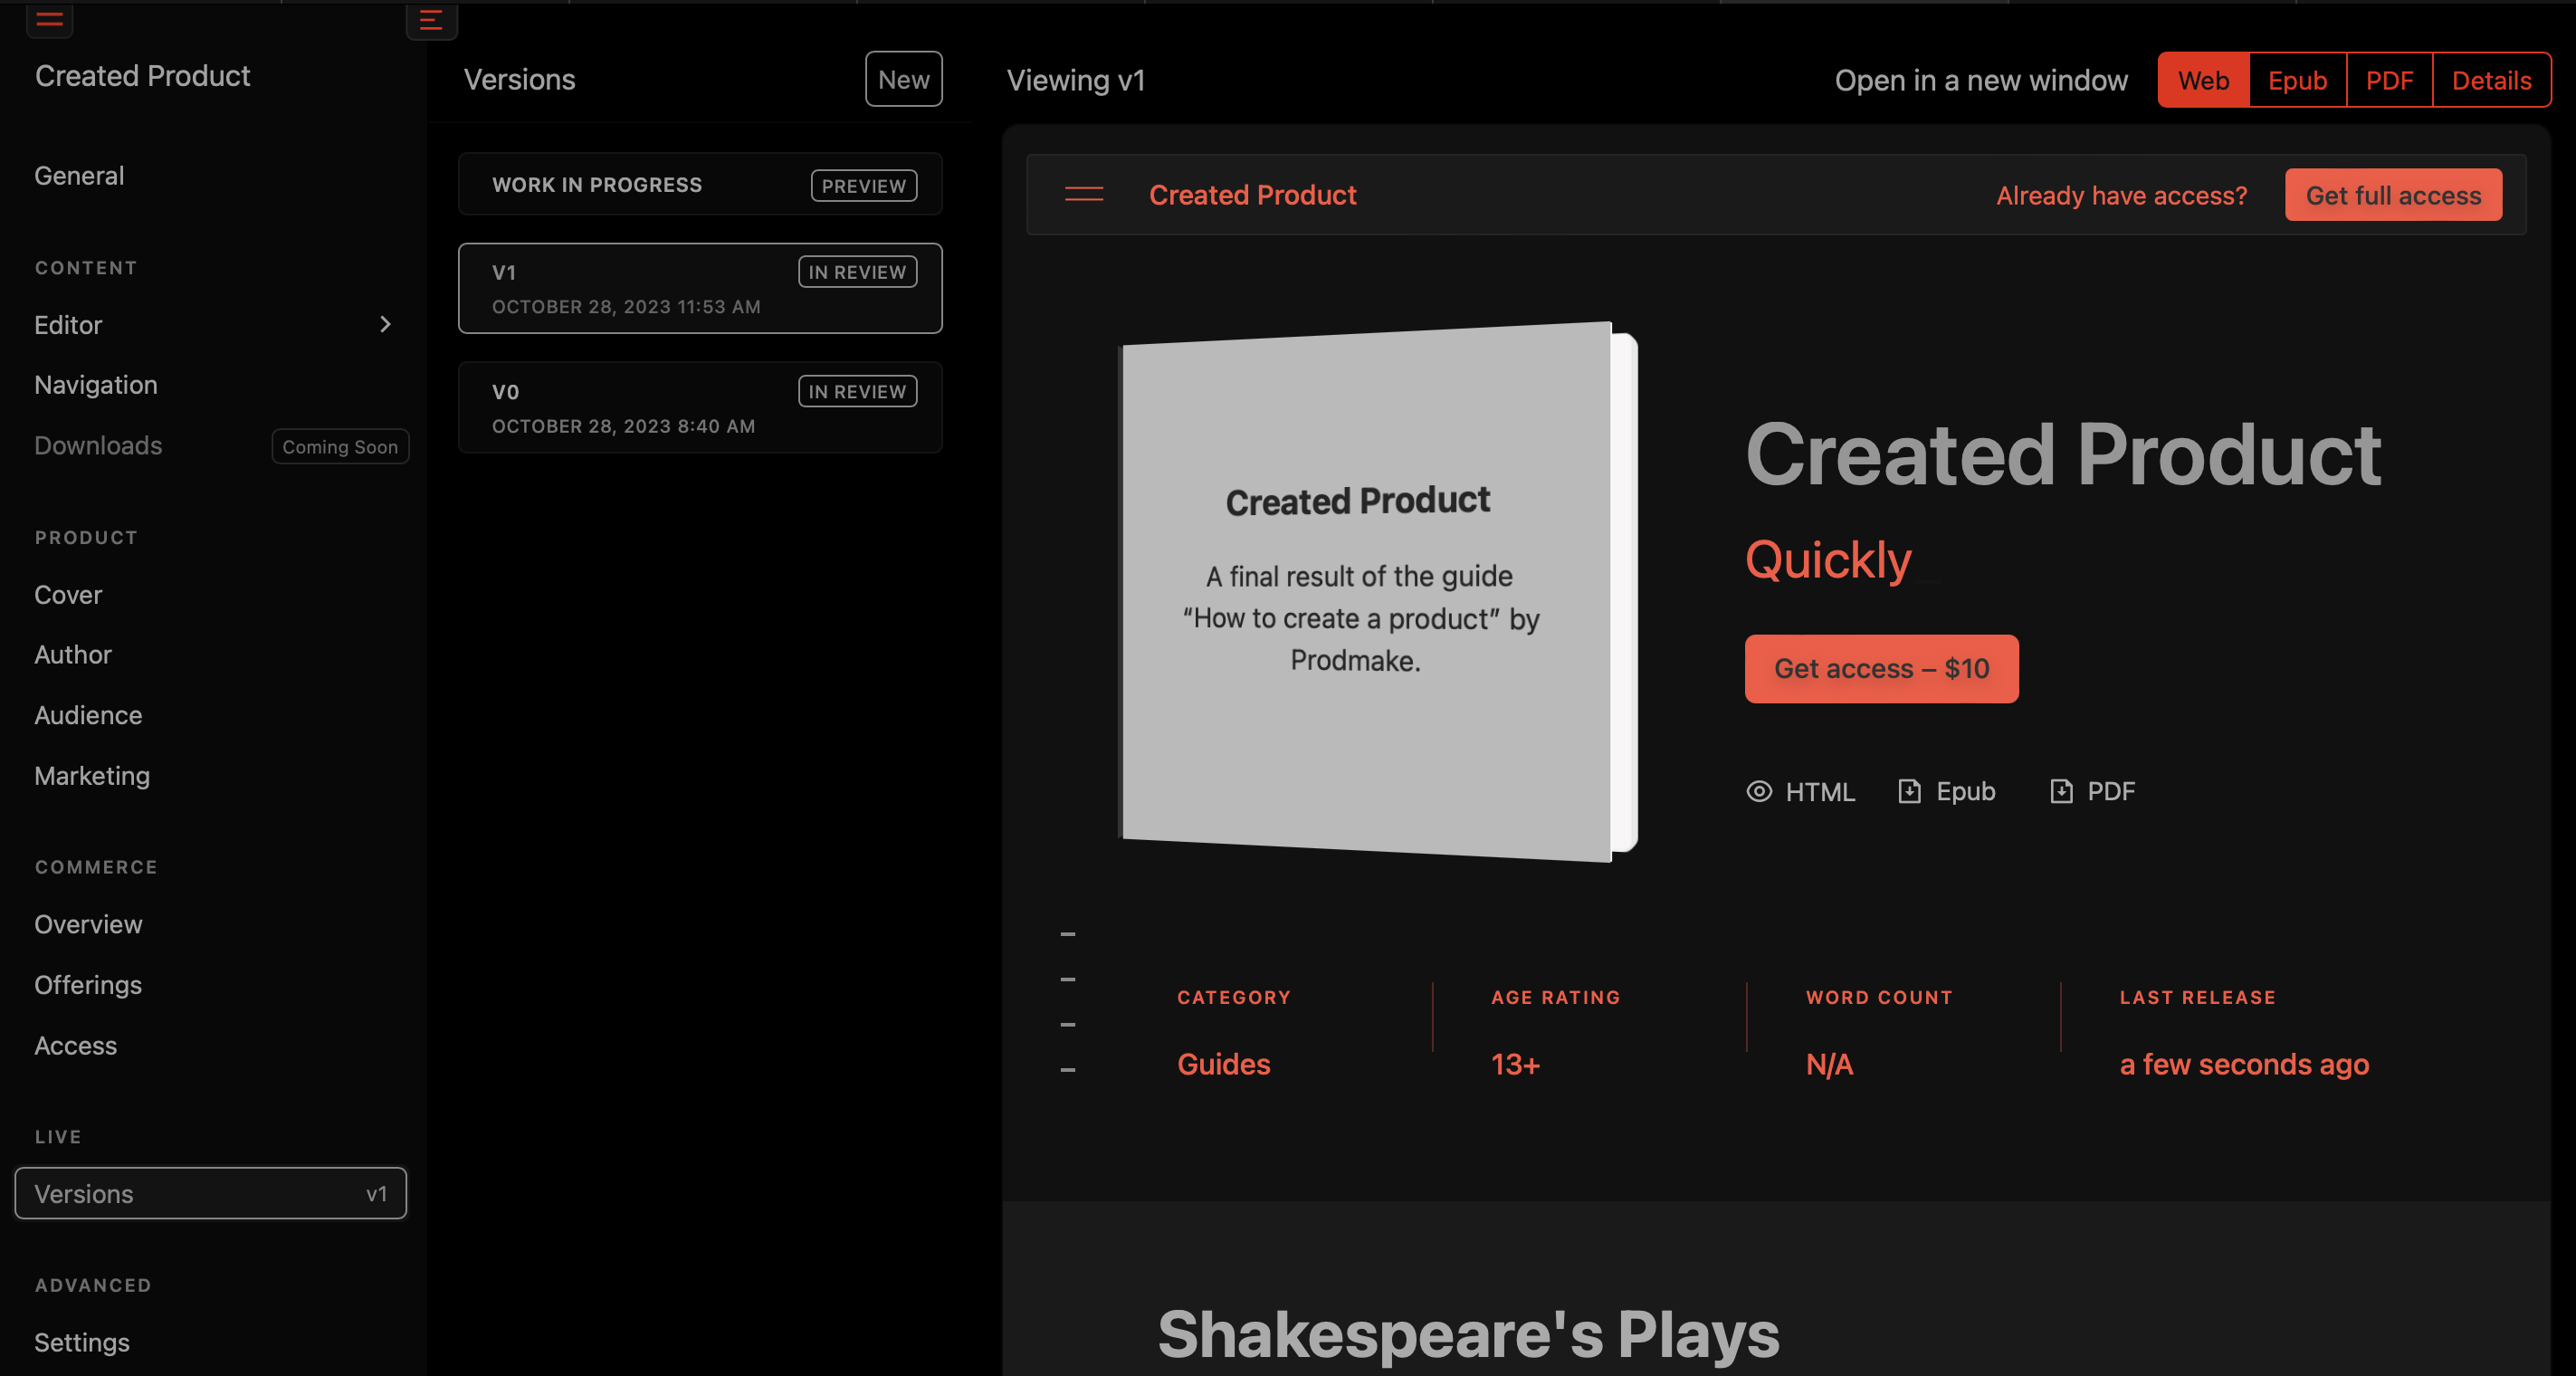
As you can see it looks exactly the same as your current state of the product because it’s a snapshot but there’s a new link at the top which says “Open in a new window”. Let’s click on it!
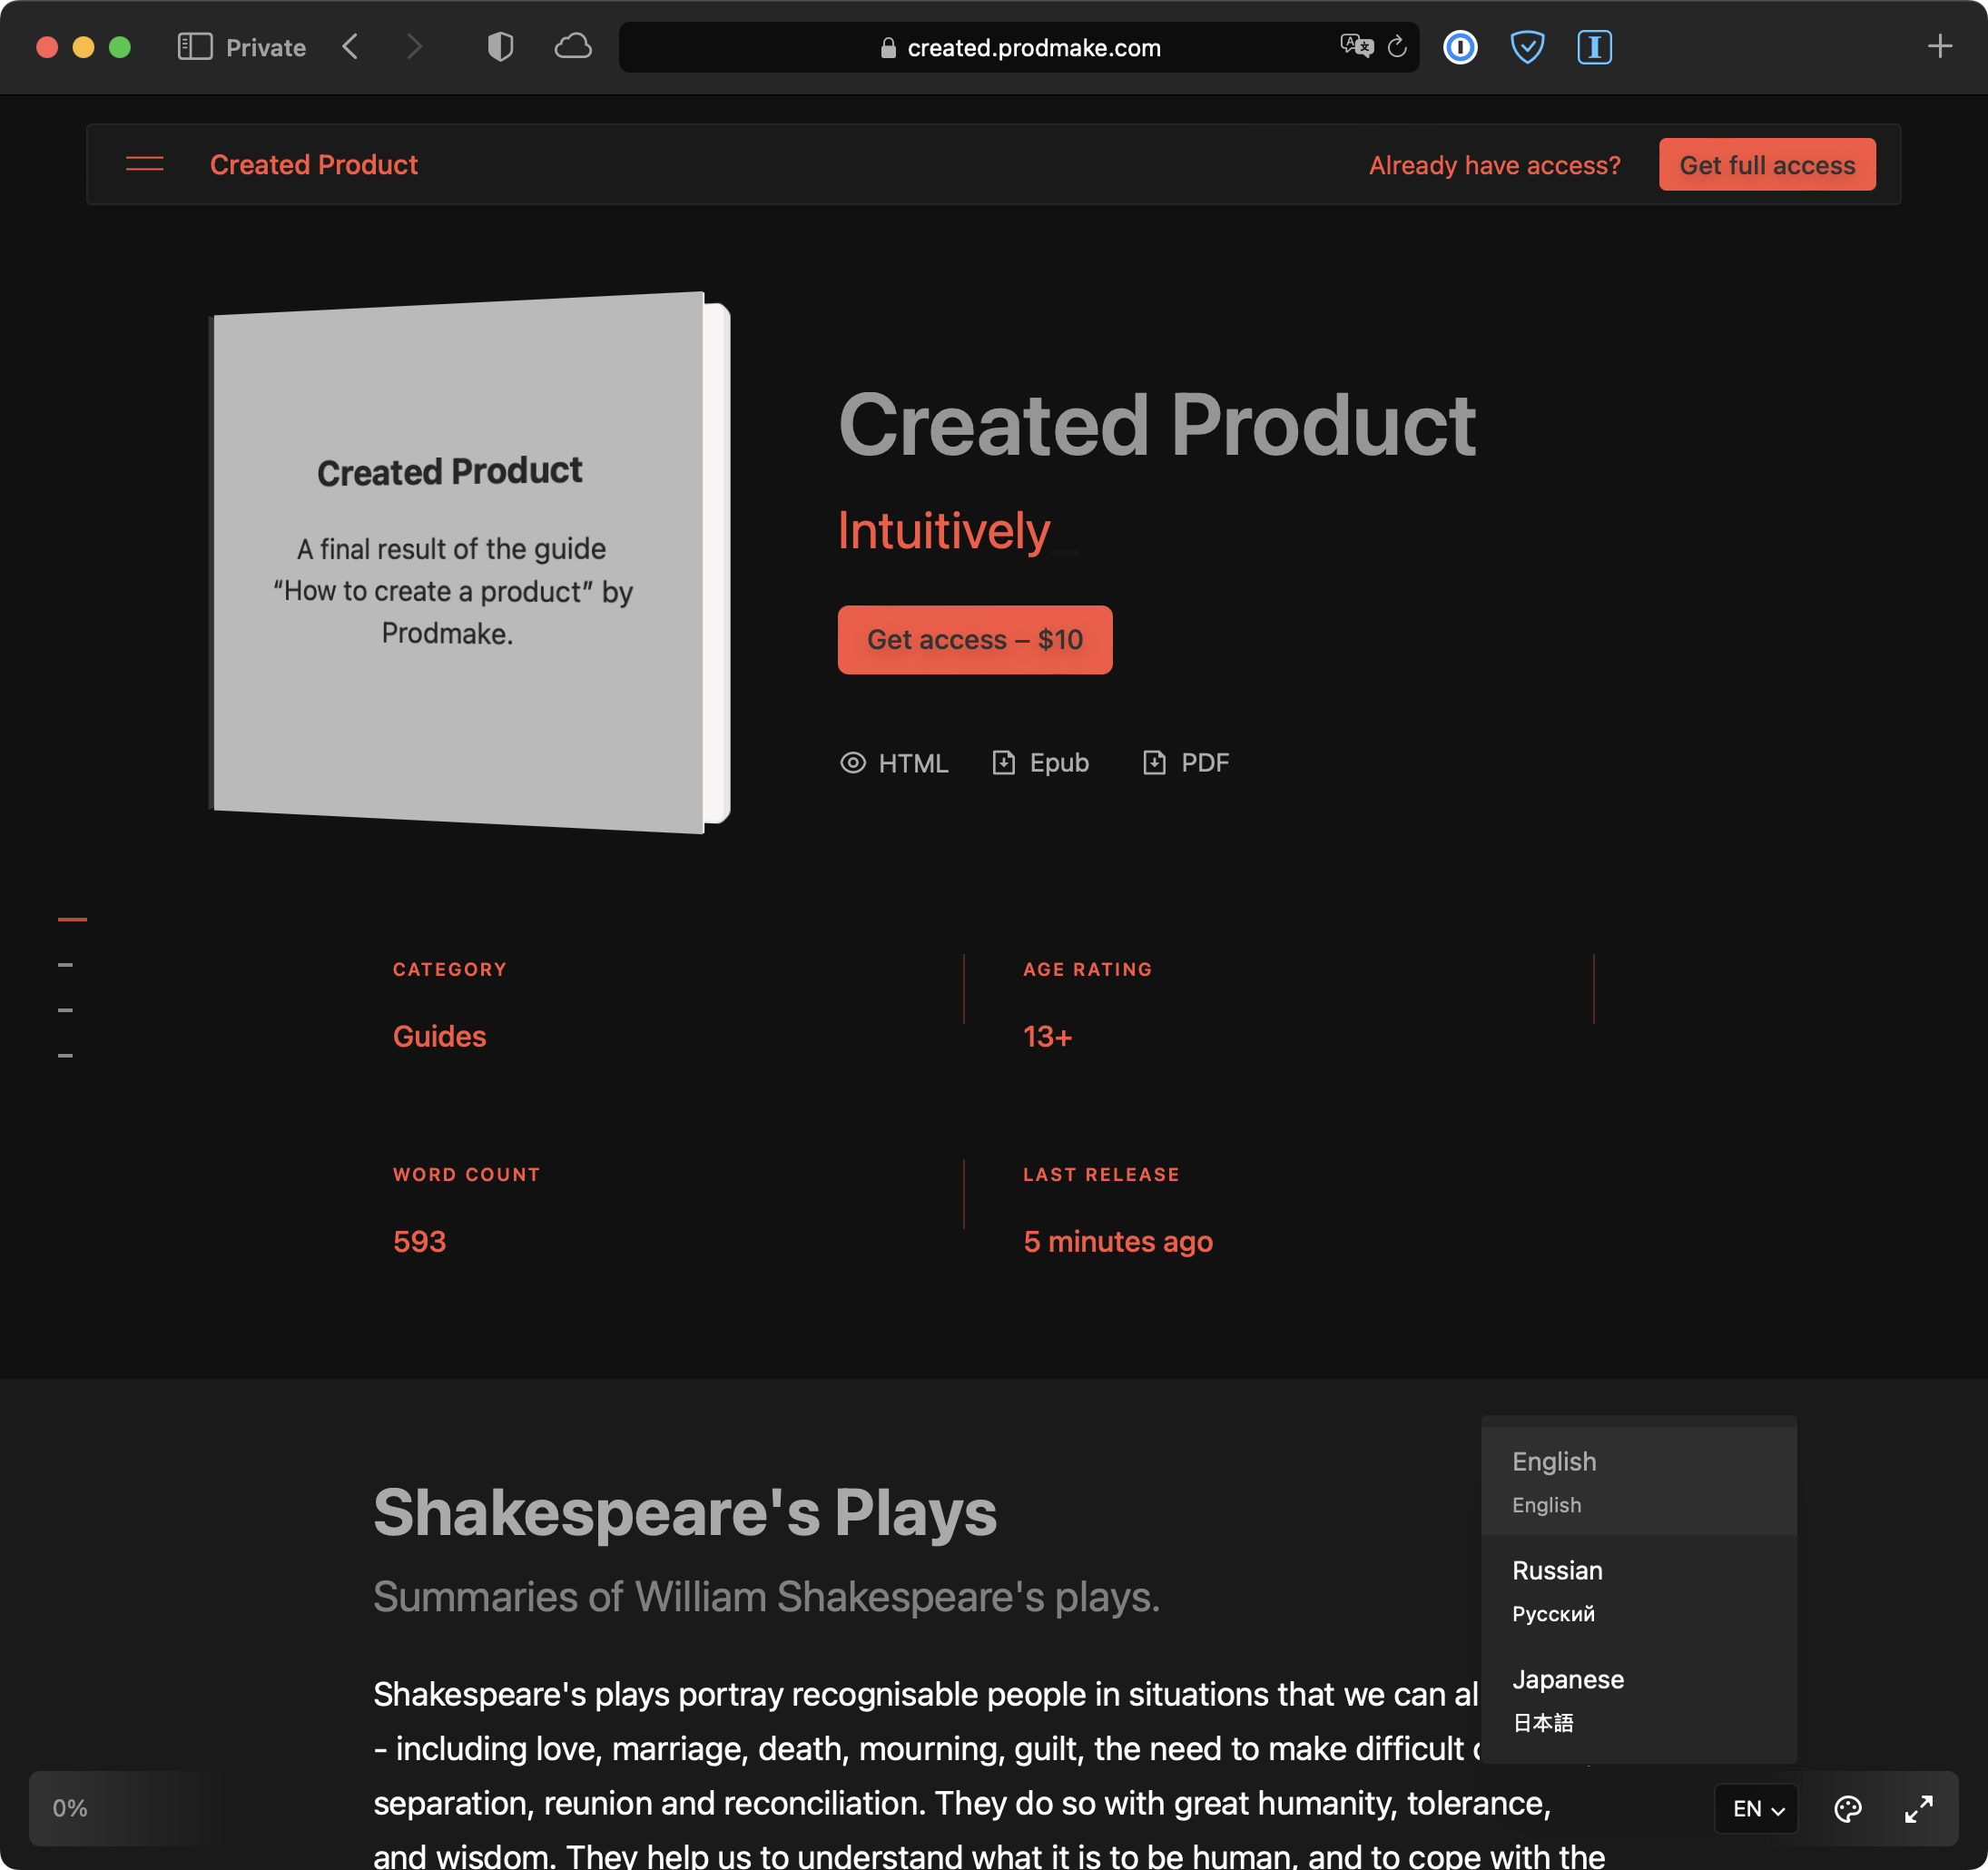
Yay, your new product is live. It’ll look 99% the same as the version you see in Preview. As you can see there’s support for themes, language selection (if you chose to create an international product).
Ok, the most exciting part. Let’s see the payment window.
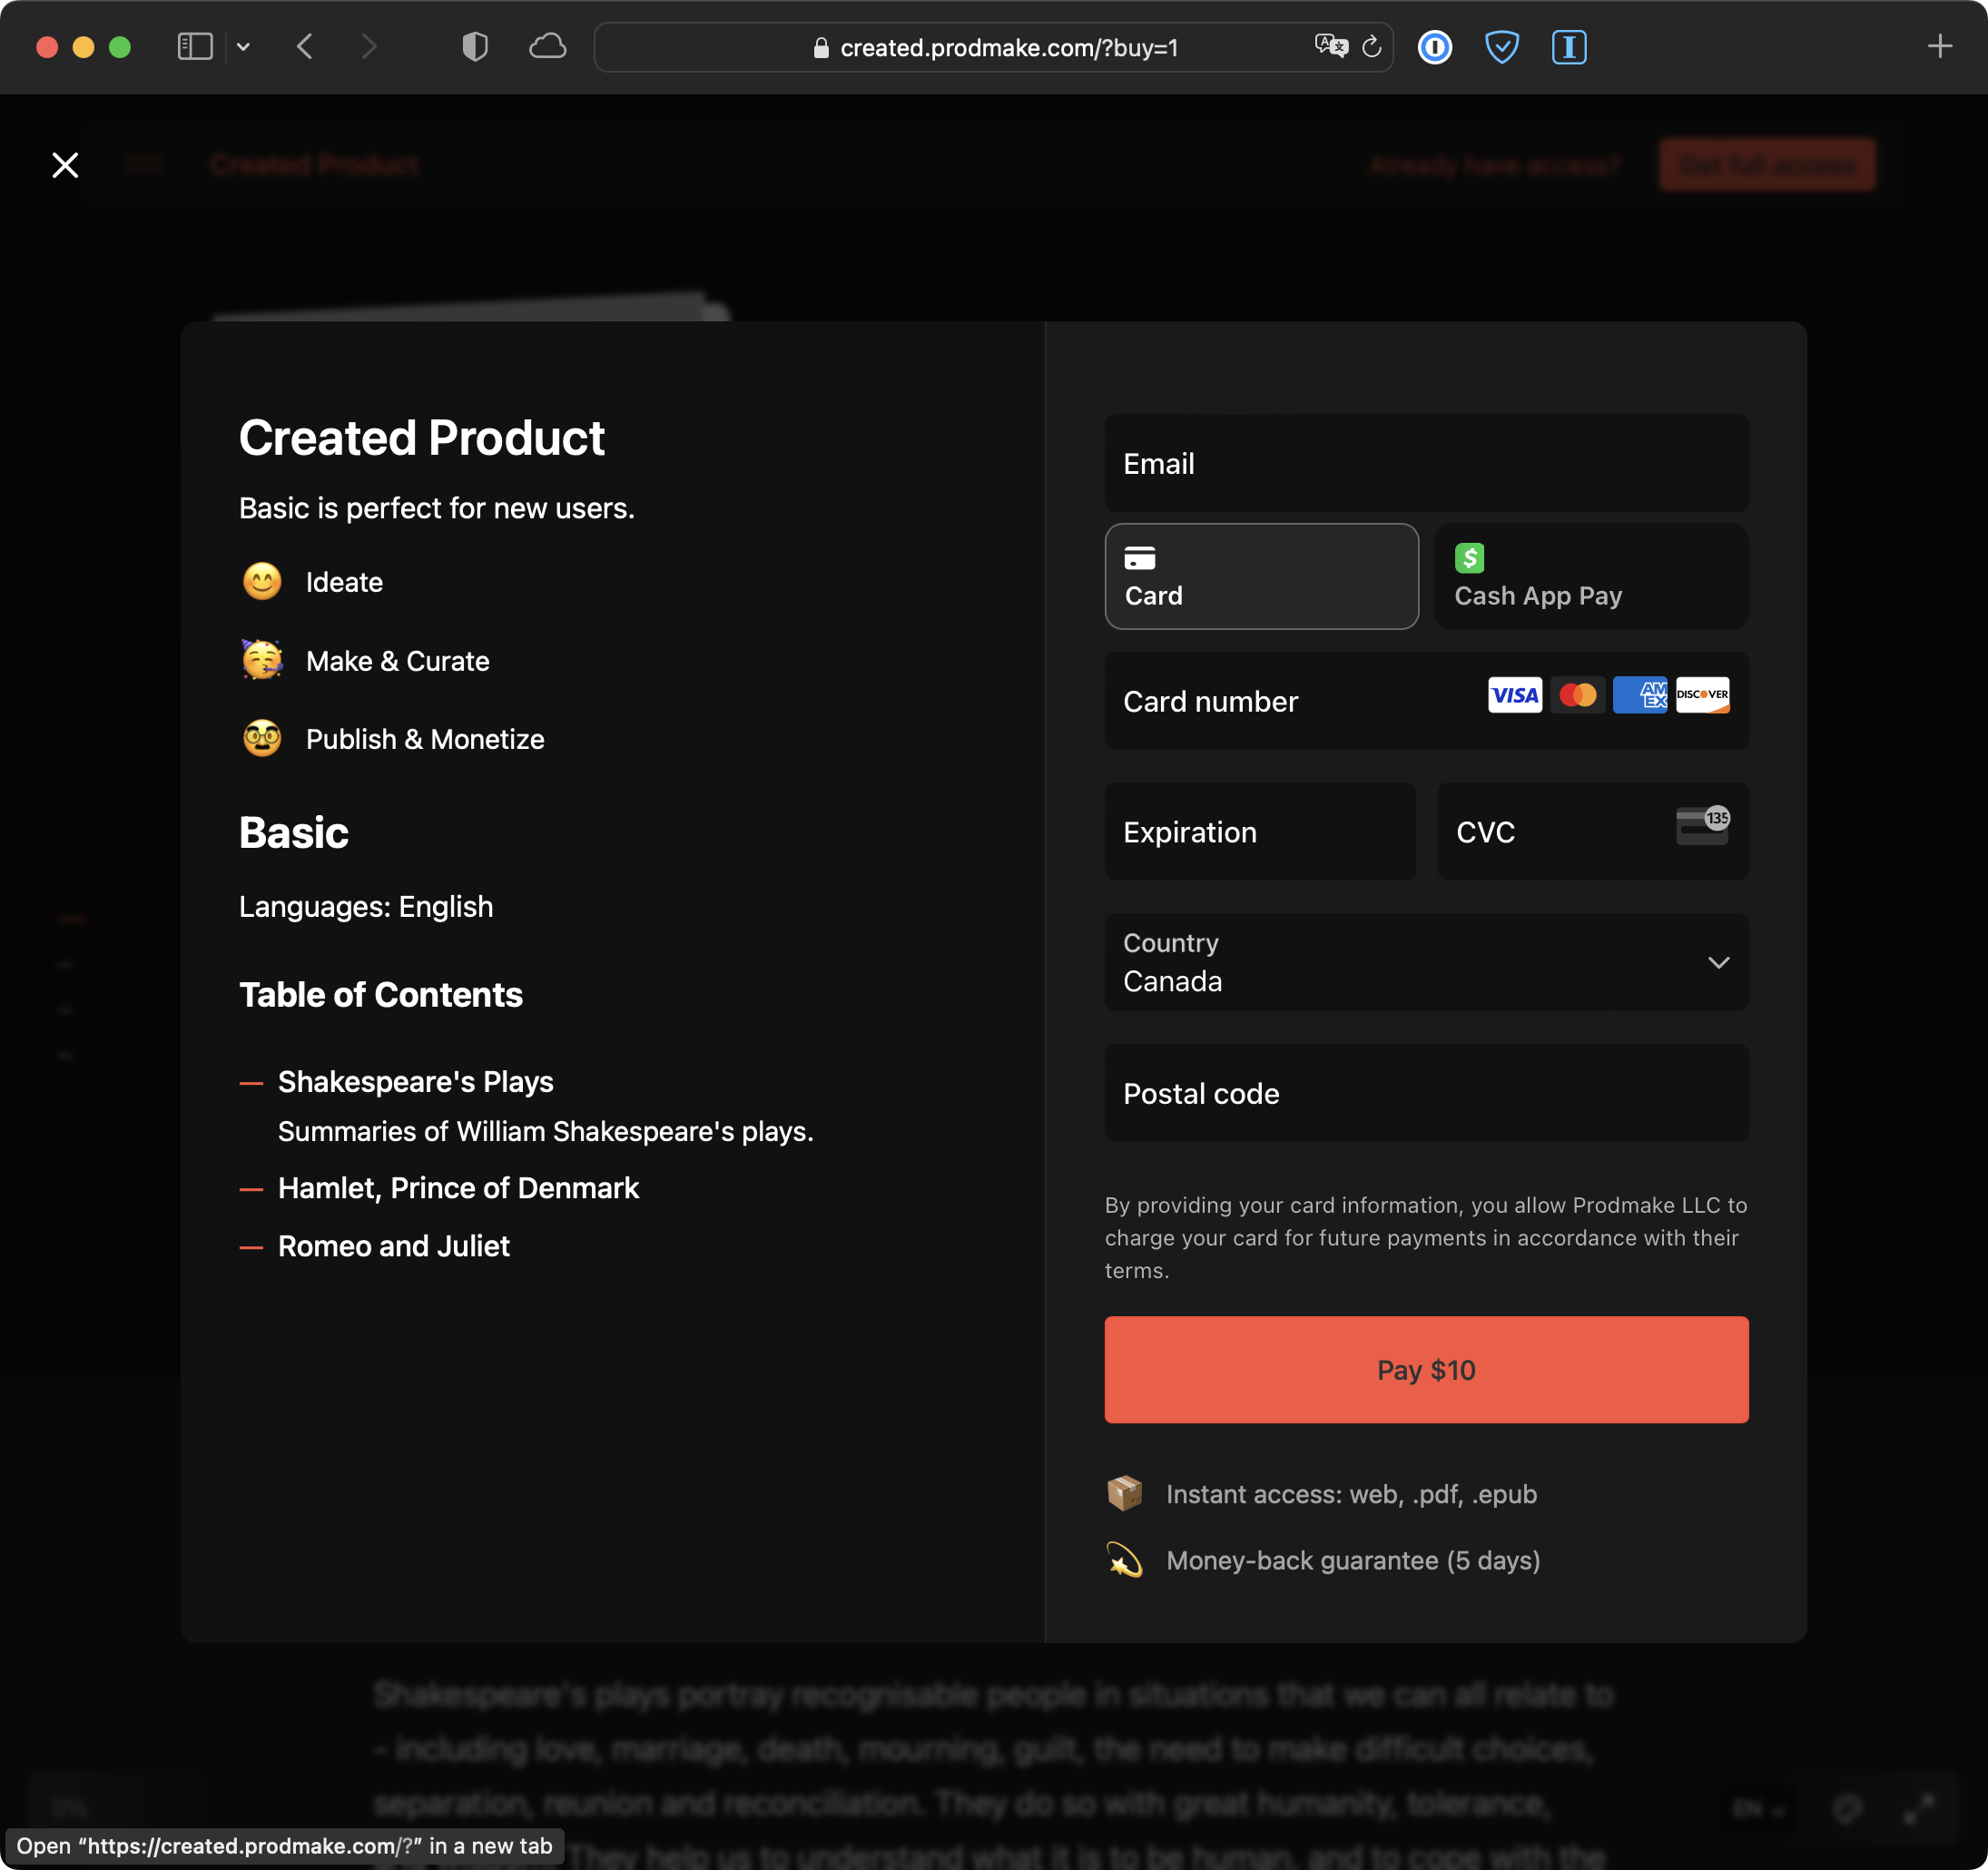
Yep, same information that we put in Offerings and Commerce sections.
Perfect, we’re done.
Now’s the time to share your product with the world.
Drop your product link everywhere and conquer the industry you’re in.
The final result is live at created.prodmake.com.
Fin
As you can see Prodmake provides an intuitive interface for you to come up with products, modify, export, and publish them. You can finally focus on producing the product contents to meet and exceed expectations of your target audience.
Thank you!
Make a product today.
Books, guides, manuals, handbooks — digital assets.
